Docs - Console
Cloud
This page holds all your cloud account connections. From here you can add and delete your cloud connections. For more information about Cloud integrations adn how to set them up, check out this documentation we have on them.
Page Walkthrough #
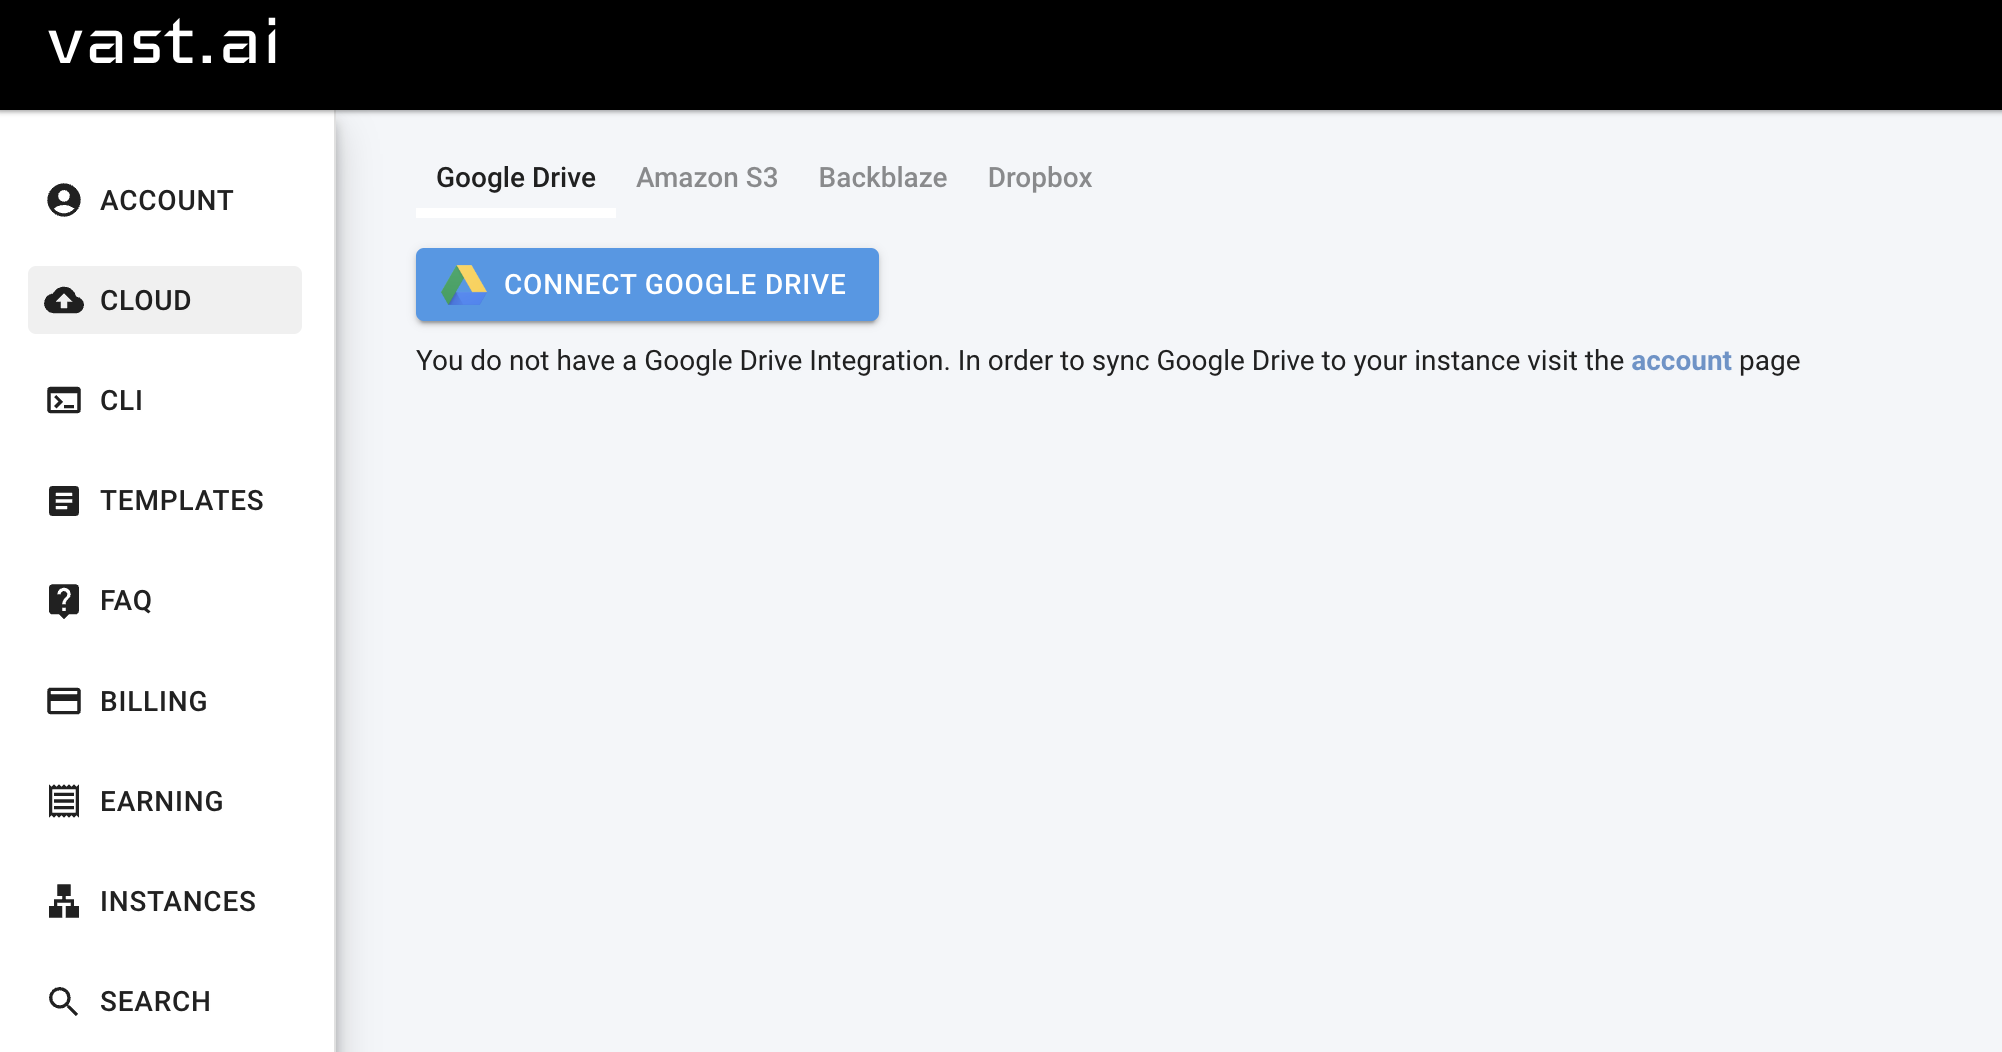
This page representation shows no cloud connections present on this account. You can easily add them on this page with the pop-up prompts.
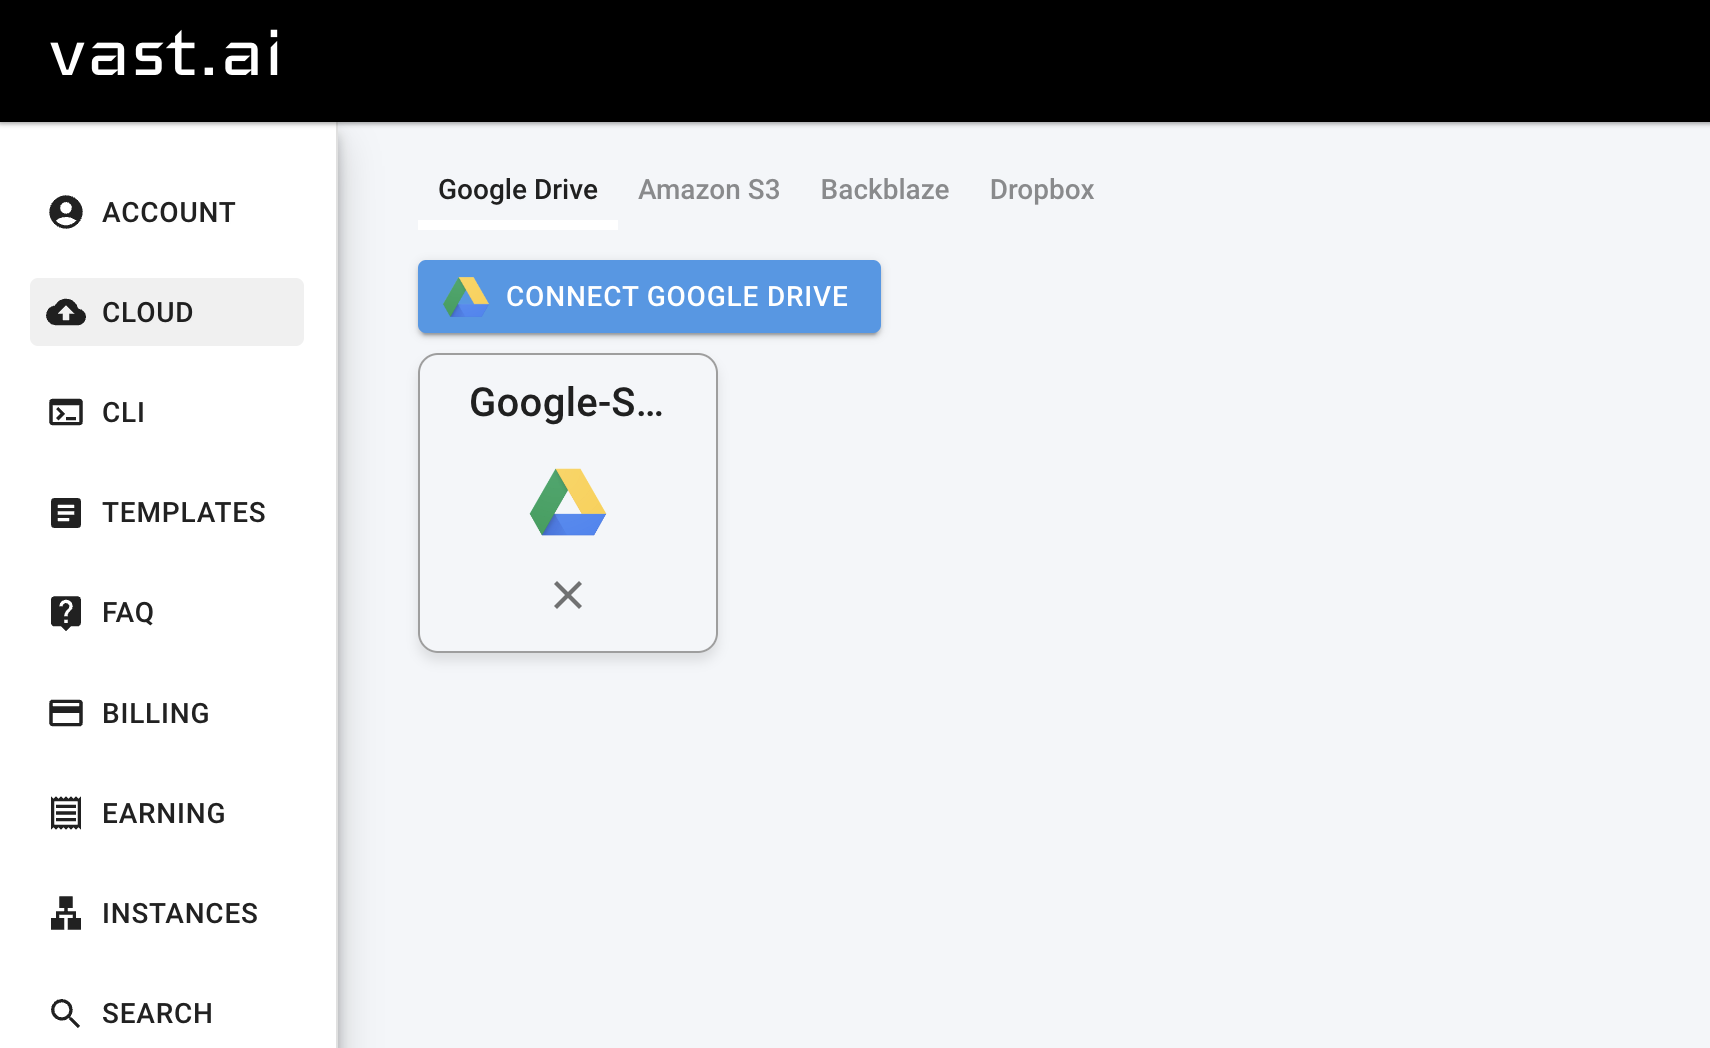
This is what it looks like with a cloud connection. You can easily delete cloud connections by clicking the X on the connection you want to delete.
Common Questions #
Can I use my personal account for Cloud Sync? #
We recommmend creating new accounts for using Cloud Sync between Vast and Google Drive, Backblaze, and Dropbox, as this connection will be at an account level. For Cloud Sync with Vast and Amazon S3 we recommend creating a new IAM user with the intended authorization for the data you want to store on vast.ai servers, as Vast connects on a user level rather than an account level.