Getting Started With ComfyUI
Getting Started with ComfyUI for Stable Diffusion: A Beginner's Handbook to Running on Vast.ai
Artwork created using artificial intelligence (AI) has made a big splash in recent years. Simple text descriptions using natural language can generate a vast array of images in different styles. From watercolor, oil, and acrylic-style digital paintings to cartoons and photorealism, fashion photography, and nature scenes, the possibilities are limited only by one’s imagination.
But how do you go from text to image? Deep learning AI tools like Stable Diffusion – based on latent diffusion processes – make it possible to create complex images with just a few words typed into a text box. Frameworks like ComfyUI make that tool accessible to just about anyone.
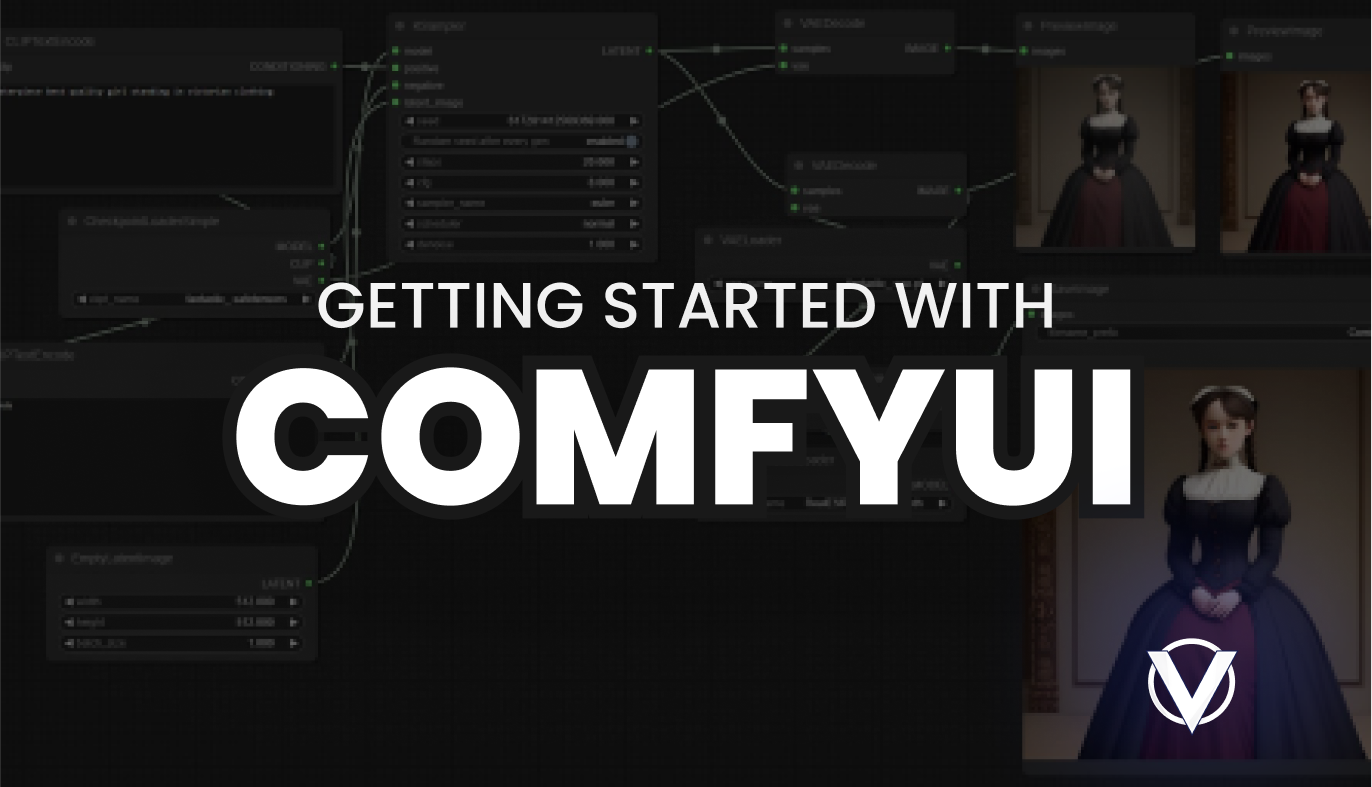
Released in January 2023, ComfyUI is an open-source modular Stable Diffusion workflow engine with a node-based interface. It can create and execute advanced Stable Diffusion pipelines for use cases like text-to-image generation, image-to-image translation, and image interpolation – aka inpainting and outpainting, or filling in / extending the missing areas of an image. But ComfyUI goes even further than other AI art interfaces, providing cutting-edge configurability.
With ComfyUI, the user builds a specific workflow of their entire process. This approach is more technically challenging but also allows for unprecedented flexibility. For instance, you can preview images at any point in the generation process, or compare sampling methods by running multiple generations simultaneously.
The concept of node-based interfaces is most commonly associated with industries like 3D design and visual effects (VFX). Each node typically carries out specific code-based functions.
In the case of ComfyUI, every node is a representation of distinct facets within the Stable Diffusion process. Through the creation and interconnection of these nodes you gain the ability to seamlessly run Stable Diffusion experiments.
Speed is a major advantage, as well. Due to the granularity of its node-based interface, ComfyUI is able to re-execute only the components that have changed between executions, optimizing performance and speed. Many users have reported that ComfyUI image generation is two to three times faster than other interfaces.
Some other useful features of ComfyUI include the following:
- Workflows can be saved as JSON files, allowing you to easily reload an entire layout of nodes for consistent and reproducible results across multiple images – and share and revisit projects later.
- The interface supports loading checkpoints and safetensors models, as well as different upscaling models.
- Full workflows are saved in image metadata and can be loaded from the resulting PNG files.
With these innovations and more, ComfyUI ushers in a flexible, infinitely configurable approach to AI-powered image generation. The easy-to-use interface – with no programming knowledge required – means even beginners can quickly achieve great results. Here’s how you can get started with Vast.ai.
Running ComfyUI on Vast
You can get ComfyUI up and running in just a few clicks.
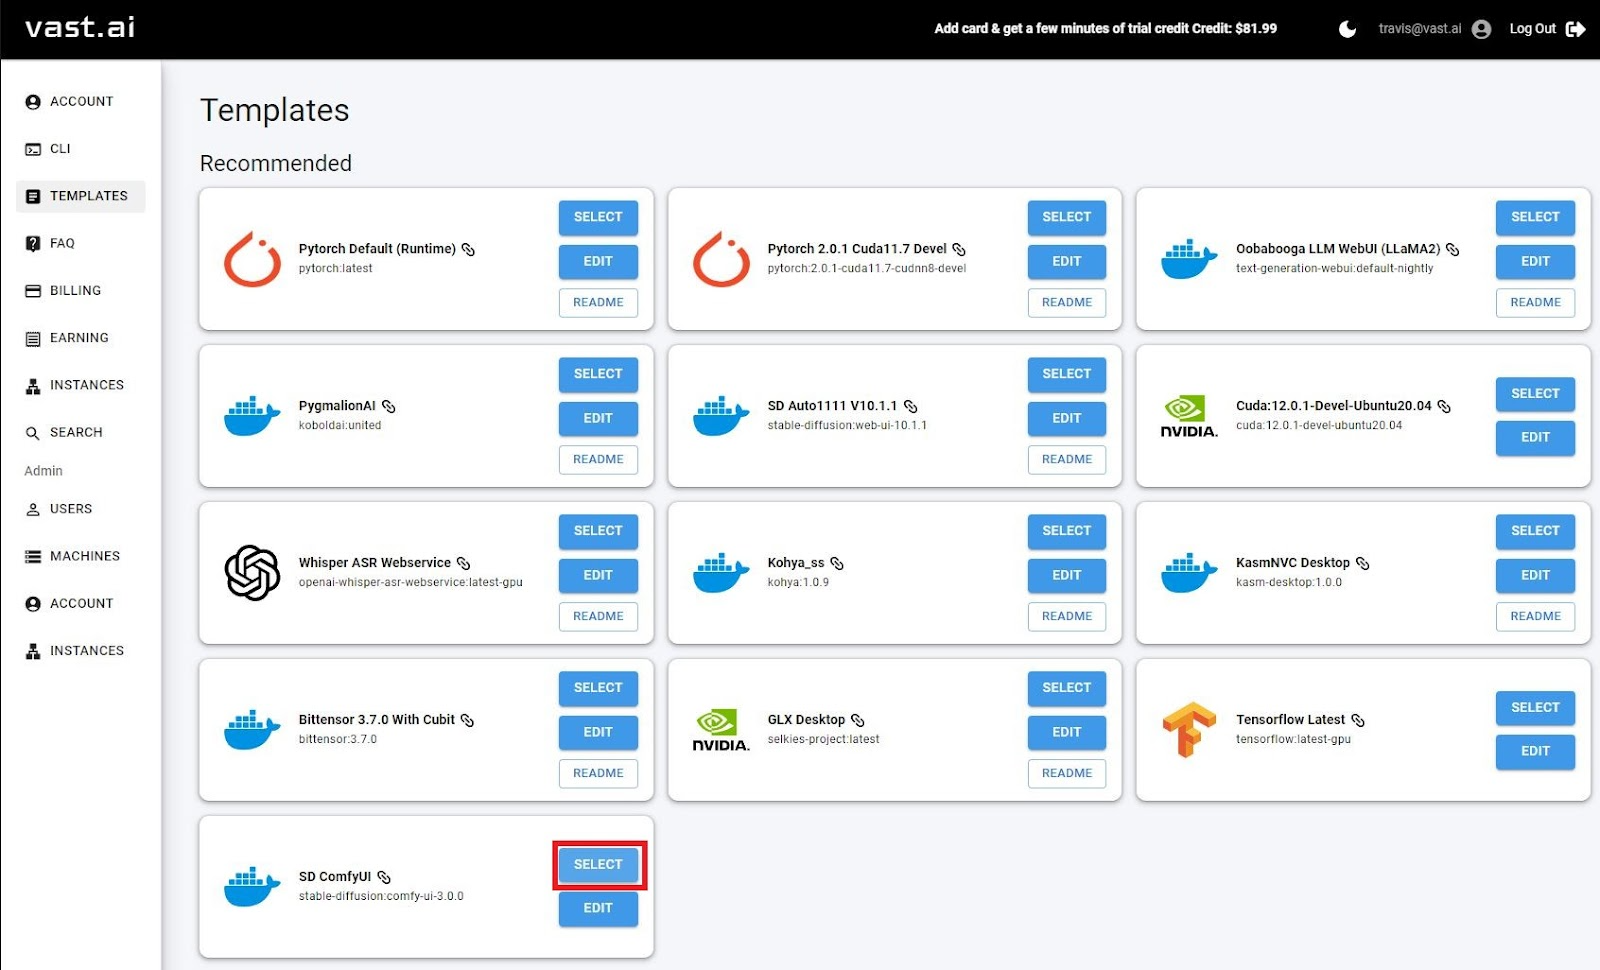
- Head to our Templates page and select ComfyUI. Yep, it’s that simple. (Already signed in? Click here for our ComfyUI template directly.) Note: A template contains a Linux docker image, related settings and launch mode(s) for connecting to the machine. Whenever you edit a template, a new version is created and stored in your recent folder.
- Filter and select the machine (GPU) for your project.
- Select enough storage for your project. Note: You can't change this after instance creation, so make sure to size correctly at start! Use the slider and filters on the left-hand side of the console to find the best fit for you.
- Start your Instance by clicking the blue RENT button. The instance will appear in the Instances tab. After loading, your instance will start up, and you can click the Open button to launch ComfyUI.
Now you’re running ComfyUI! Remember: destroy your instance once you’re done to stop your GPU and avoid incurring storage charges.
It’s that easy!
For more Vast.ai templates, check out our console. For in-depth guides on all things Vast.ai, explore our docs.
For curious minds, here’s how you install ComfyUI on your own machine. Fair warning, it’s a bit more complicated than running directly on Vast.ai.
Installing ComfyUI Locally
For Windows users, the easiest method to install ComfyUI is by using the standalone installer available on the releases page:
- Visit the official releases page: ComfyUI Releases.
- Download the latest comfy-windows.zip file from the list of releases.
- Extract the downloaded zip file using a tool like 7-Zip or WinRAR.
- After extraction, you'll have a portable ComfyUI folder that's fully configured.
- Place your Stable Diffusion models in the "models/checkpoints" directory within the ComfyUI folder.
- To launch ComfyUI, simply run "comfyui.exe" from the extracted folder.
Installing ComfyUI on Linux
You can easily install ComfyUI on various Linux distributions, including Ubuntu, Debian, and Arch, by following these requirements and steps:
Requirements:
- NVIDIA GPU with CUDA support
- Python 3.7 or higher
- Pip package manager
Installation Steps:
- Clone the ComfyUI repository :://github.com/comfyanonymous/ComfyUI.git
- Install PyTorch with CUDA support
- Install dependencies
- Download Stable Diffusion models and place them in models/checkpoints
- Download a VAE like Latent Diffusion and place it in models/vae
- Launch ComfyUI