Docs - Data Management
Cloud Sync
Cloud Sync is only supported on Docker-based instances. Cloud Sync is not currently supported on VM-based instances (instances created using a vastai/kvm repository template)
Cloud Sync Integrations allow you to move data freely to and from instances on Vast.
In order to move data from cloud providers to Vast instances you must provide certain credentials which will be temporarily moved onto your instance which is stored on a host machine. For this reason you should only use cloud integration options when using verified hosts that are datacenters. You can filters for these hosts using the command line interface or on the website instance creation page using the 'Secure Cloud' checkbox.
Google Drive #
Note that Vast will connect at the account level. Therefore it is recommended for users to have a dedicated Google Drive for Vast use cases rather than using their personal account.
Prerequisites: Have an active Google Drive account
Navigate to your account page
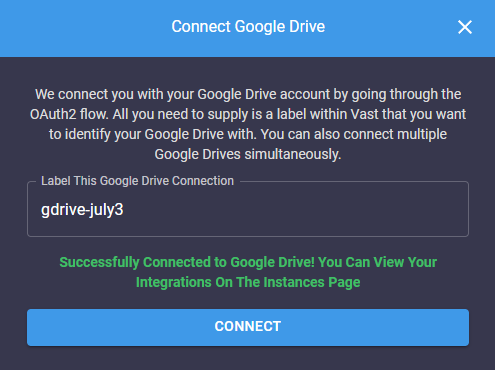
On the bottom you should see a button that says Connect to Google Drive
Enter a name for your integration with Google Drive.
Submit the name, after which a new tab should open up asking if you would like to give Vast access to your Google Drive.
Once the verification prompt has been accepted, you will be redirected back to vast with your Google Drive fully integrated.

You have now connected your Google Drive with Vast. This will allow you to move data to and from instances even while inactive.
Amazon S3 #
Prerequisites: An active Amazon Web Services (AWS) account.
We do not recommend using an existing IAM user on Vast. Vast connects on a user level rather than an account level, so it's best to create a new IAM user with the intended authorization for the data you want to store on vast.ai servers.
Create a S3 Bucket in AWS
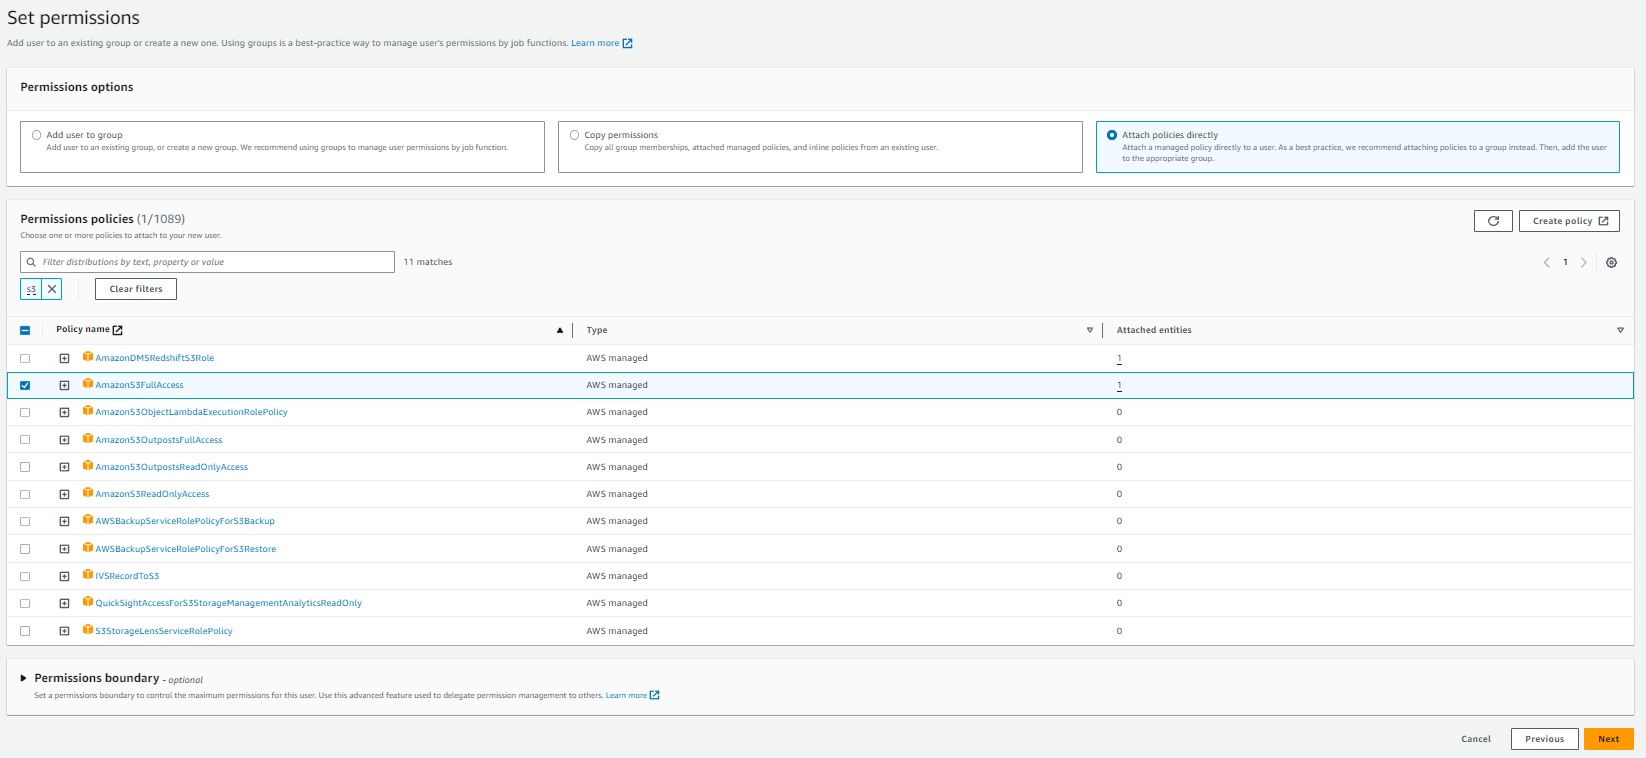
Create an IAM User and Grant Access to the S3 Bucket, we recommend you create a user with access to your specific bucket for this process rather than full access.

Once the user is created, click the user and go Security credentials.
Click Create access key, and enable for Command Line interface
Once the access key is created, you will be prompted with an Access Key, and a Secret access Key. This will be the information required to use your AWS user permissions on Vast.
Navigate to your account page
On the bottom you should see a button that says Connect to Amazon S3
Enter your credentials in the given fields, as well as a name for your integration with Amazon.
You have now connected an Amazon Web Services user with Vast. This will allow you to move files from services like Amazon S3 to and from instances on Vast.
Backblaze #
Note that Vast connects to cloud providers at the account level. Any bucket your application key has access to will be accessible with Vast. This can cause security concerns with some use cases that should be dealt with by creating a new application key used specifically for data you want to store on vast.ai servers.
Create a bucket in Backblaze. It should not matter if the bucket is private or public.
Go to Application Keys
Select Add a New Application Key
Grant access for Read and Write operations on the bucket of your choice
Note the keyId and the applicationKey that are returned to you. This is the data required for Vast.
Navigate to your account page
On the bottom you should see a button that says Connect to Backblaze
Enter your credentials in the given fields, as well as a name for your integration with Backblaze.
You have now connected your Backblaze account with Vast. This will allow you to move data to and from Instances easily.
Dropbox #
Note that Vast will connect at the account level. Therefore it is recommended for users to have dedicated dropbox accounts for Vast use cases rather than using their personal account.
Navigate to your account page
On the bottom you should see a button that says Connect to Dropbox
Enter a name for your integration with Dropbox.
Submit the name, after which a new tab should open up asking if you would like to give Vast access to your Dropbox.
Once the verification prompt has been accepted, you will be redirected back to vast with dropbox fully integrated.
You have now connected your Dropbox account with Vast. This will allow you to move data to and from Instances seamlessly.