Docs - Use Cases
Create Template With Your Own Image
You can create a template with your own docker image after reading this guide for most use cases.
Vast instances are currently Linux Docker containers. Many Linux based images should work within Vast. We will be enabling you to use instances that are Windows virtual machines and other kinds of virtual machines soon.
Step 1 - Sign in to Vast.ai #
Log in to your Vast.ai account. If you don't have one, you'll need to sign up.
Step 2 - Navigate to the 'Templates' Section #
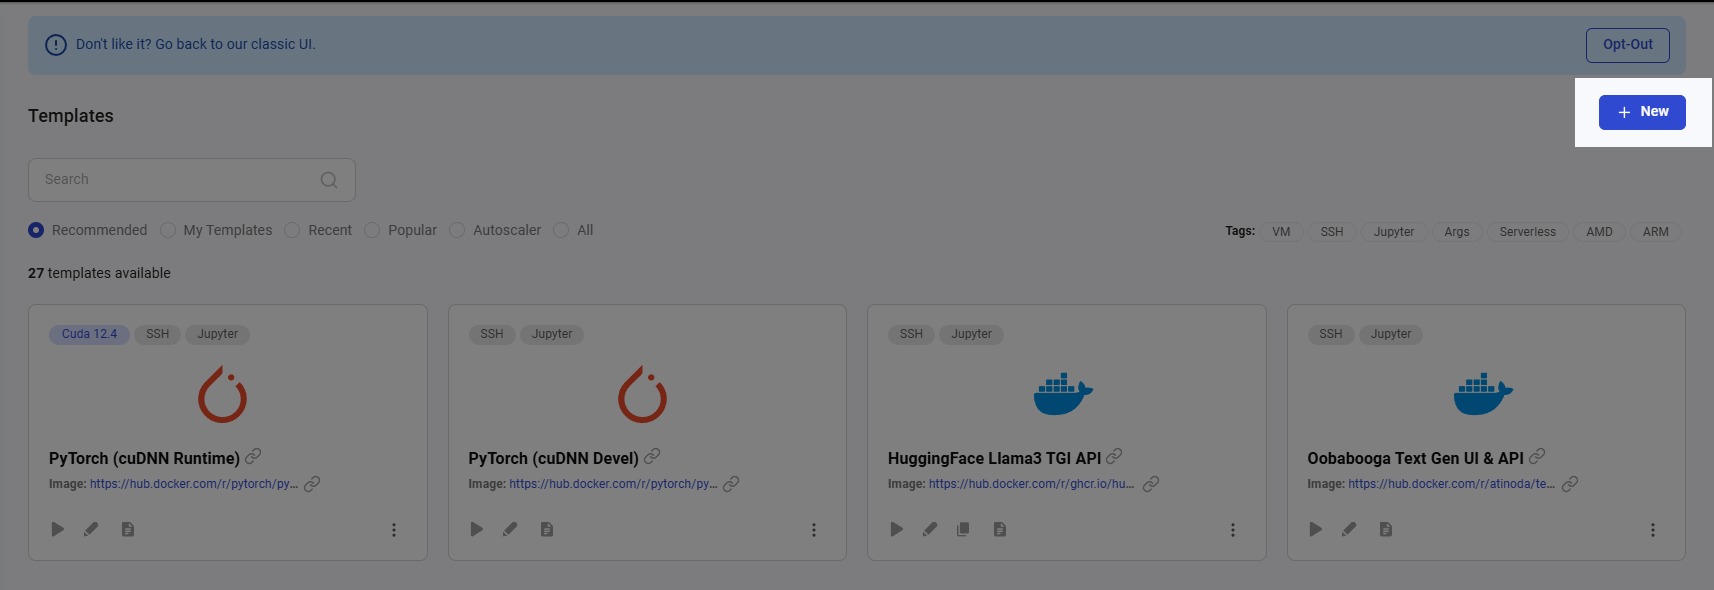
Navigate to the 'Templates' Section: Once logged in, go to the "Templates" section. This is where you can create, manage, and edit templates.
Step 3 - Create a New Template #
Click on the option to create a new template.
Step 4 - Specify the image path/tag of your docker image #

Step 5 - Set Environment Variables #
You can use the -e option to set environment variables by adding something like "-e MYVAR1" to the Docker Options section.
You can also add them one by one in the Environment variables section, this will automatically sync with the Docker Options field.
These options will be appended to the docker run command before the docker run command is executed within one of the machines similar to how it would be if you were executing "docker run -e MYVAR1 IMAGE[:TAG|@DIGEST]" in your local machine.
Docker Run Env Option Documentation
Step 6 - [Optional] Open Custom Ports #
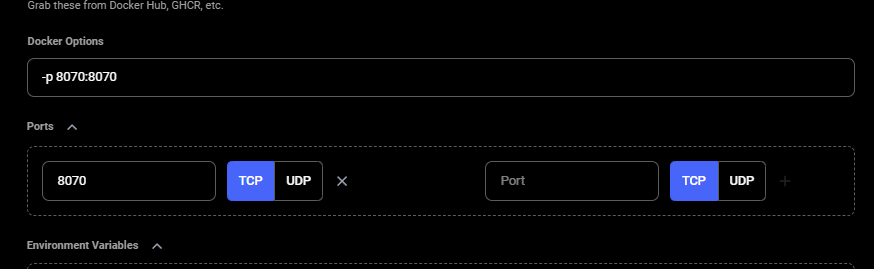
In addition to setting environment variables, you can also open custom ports by adding -p ${HOST_MACHINE_PORT}:${CONTAINER_PORT} to the Docker Options section
You can also add them to the Ports section. Once more, this will automatically sync with the Docker Options field.
FAQ: How can I Open Custom Ports
You can see what's happening inside a container at particular port by finding the public ip address:port mapped to that container port.
How to View Instance's IP Addresses and Open Ports
More details on How to View Instance's IP Addresses and Open Ports
Internally, one of the machine's open ports is mapped to this container port.
You can use ssh to open a ssh connection to the host machine's public ip address:port. The machine will forward traffic from the host machine's public port to the container port you specified.
You can use a ssh command like the one below.
ssh -p [SSH_PORT] [USER]@[REMOTE_HOST] -L [LOCAL_PORT]:localhost:[REMOTE_PORT]
ssh -p 22 user@remote.example.com -L 8080:localhost:8080
Step 7 - Pick a Launch Mode #
You can choose the jupyter, ssh, or entrypoint launch mode depending on your needs.
Step 8 - Add Starting Bash Commands to On-start Script Section #
These commands will be executed as soon the docker container starts, similar to how a bash script be would be executed suppose you created a bash script and added a CMD command in the Dockerfile so Docker would execute this bash script when the container starts.
- Before Vast
# Use a base image
FROM ubuntu:20.04

# Make the script executable
RUN chmod +x /usr/local/bin/start.sh

# Set the script as the default command
CMD ["/usr/local/bin/start.sh"]
In this case: CMD specifies the default command to run when the container starts, which is your start.sh script.
- In On-Start Script Section With Vast:
chmod +x /usr/local/bin/start.sh
bash /usr/local/bin/start.sh
You can also try to overwrite existing files built into the image. Make sure you can switch to a user that has write permissions to that particular file.
For example, you can remove all instances of '-sslOnly' in a particular file using sed.
sed -i 's/-sslOnly//g' /dockerstartup/vnc_startup.shYou can also make directories.
sudo -i -u kasm-user mkdir -p /home/kasm-user/Desktop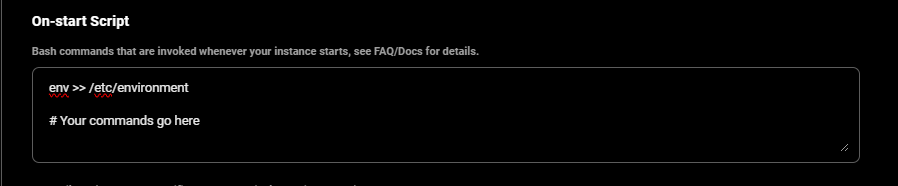
Make sure to append environment variables to /etc/environment file in your on-start section because this makes environment variables available to all users and processes and ensures they are persisted even if your instance/docker container is rebooted. This code snippet will take care of this.
env >> /etc/environmentAlso make sure to find the image’s ENTRYPOINT or CMD command and call that command at the end of the on-start section. We overwrite that command to set up jupyter/ssh server, etc. under the hood.
Step 9 - Specify Docker Repository Server Name if Necessary #
You don't have to specify docker.io as the server name if your repository is Docker Hub. Docker automatically uses docker.io to pull the image if no other registry is specified.
You do have to specify your server name if your repository is something else.
For example,
GitHub Container Registry (GHCR) - Server Name: ghcr.io
Google Container Registry (GCR) - Server Name: gcr.io
Step 10 - Specify Docker Login Username and Password #
We will have the same character set for docker login usernames and passwords as Docker soon.

Step 11 - Specify Template Name and Description #
Step 12 - Select the Amount of Disk Space You Want #
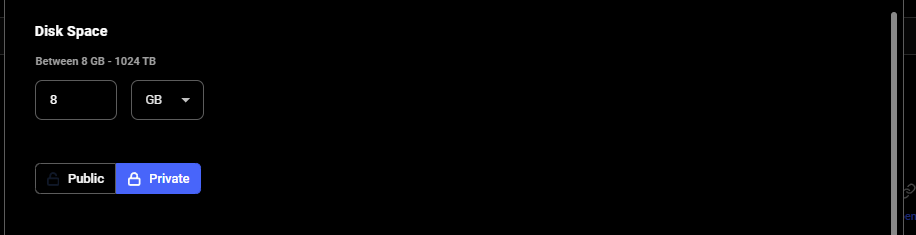
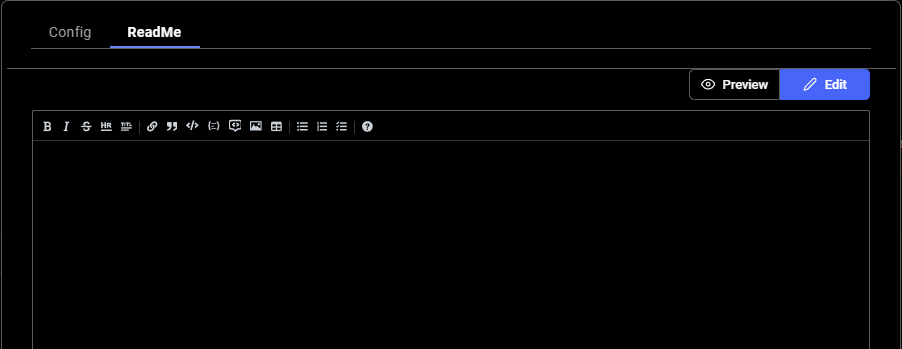
Step 13 - Fill Out Accessibility Section #
Choose whether to include ReadMe, make template public, and fill out readme if you desire.
Step 14 - Choose to Save And/Or Select Your Template #
A new template will be created when you edit, make changes, and save.

Step 15 - [Optional] Download/Upload Files/Backup To Cloud Storage #
You can download and upload files: Copy Data To/From Instance Storage
You can also backup data to cloud storage: Backup Data to Cloud Storage
Example 1 - How to Create Template for Blender #
Finding a docker image that allows customers to use Blender like a remote desktop while Blender runs in a container was tricky. However, Kasm Technologies offers remote desktops that can be accessed through your web browser and has released a lot of docker images including a blender image that allows you to run blender in a container and access it through a web browser.
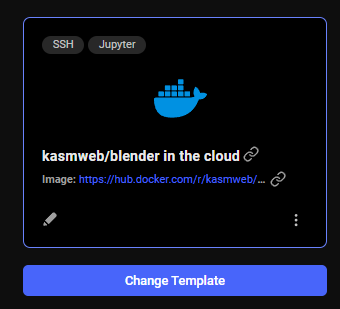
You can follow along with kasmweb's page in dockerhub for their blender image: https://hub.docker.com/r/kasmweb/blender/.
You can also follow along with the Blender template by going to this Blender Template and clicking the blue "kasmweb/blender in the cloud" hyperlink next to Template.
Step 1 - Run Locally With Docker Run Command in Container Repository Page #
In the Stand-alone Deployment section, there is a docker run command that will pull the kasmweb/blender:1.14.0 image and run container from that image with some additional commands. I used that run command to run this blender container on my local machine so I can understand how it works before I can figure how to convert it to run in Vast's environment.

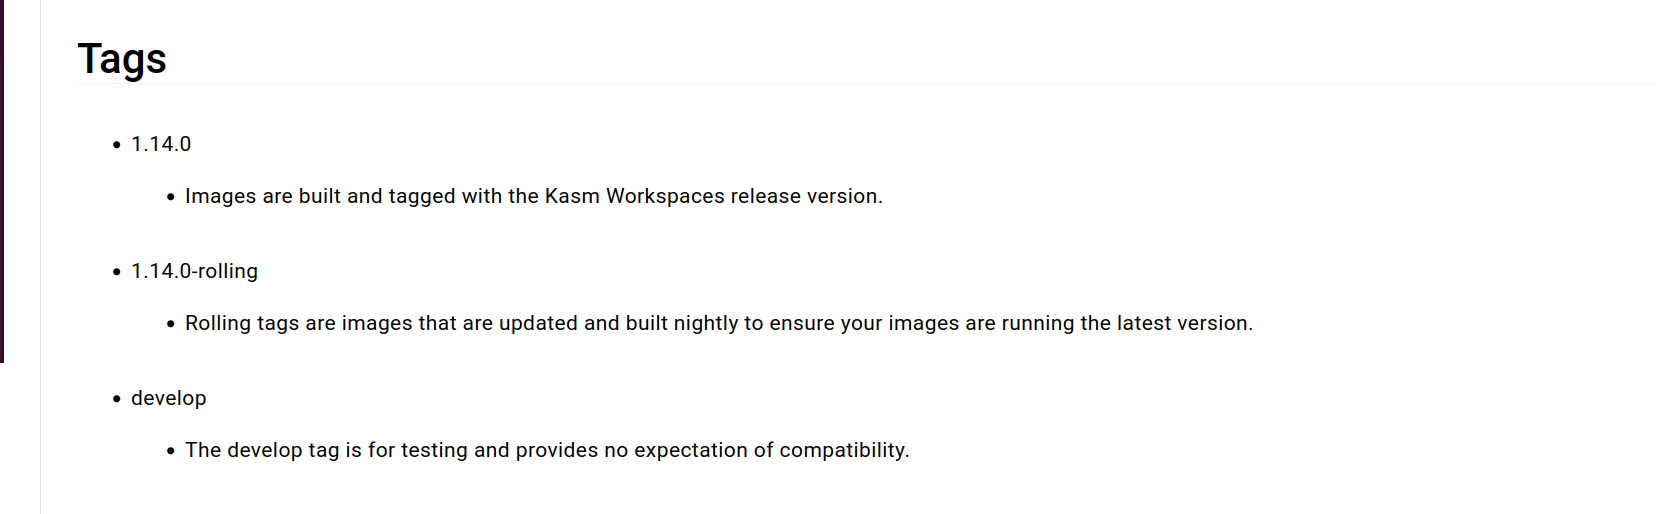
Step 2 - Choose Suitable Image Tag #
I chose to use the tag 1.14.0 because this will give me the release version of this image.
Step 3 - Specify your Image and Tag Combination #

I started to create a template and specified that the kasmweb/blender:1.14.0 image would be pulled in on one of Vast's machines.
Step 4 - Add Your Docker Options and Environment #
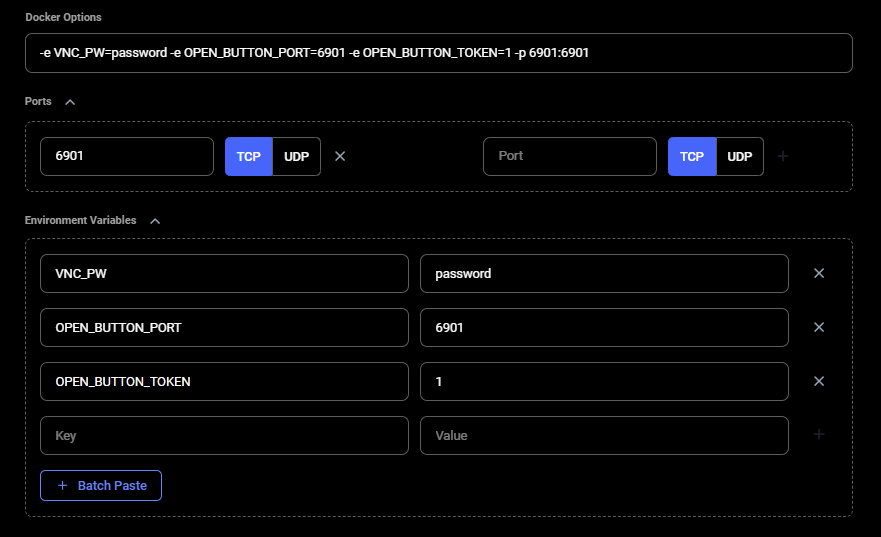
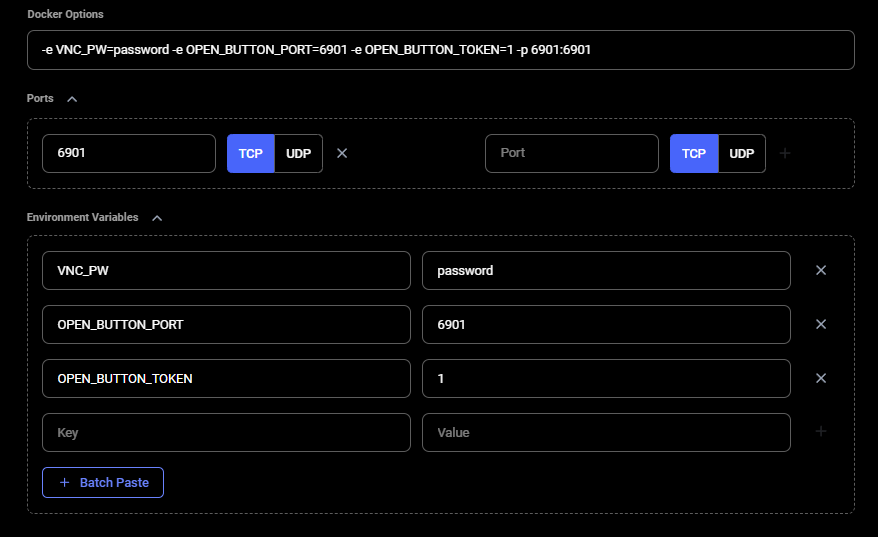
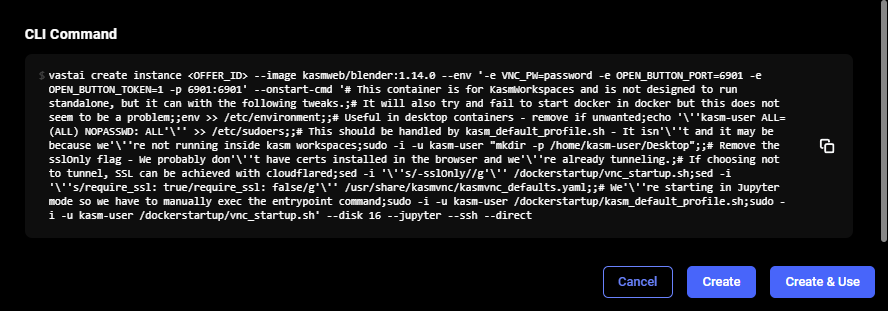
I added -p 6901:6901 -e VNC_PW=password to the Docker Options section so the docker run command would be executed with these options on one of Vast's machines, similar to the run command on that page in Docker Hub.
I also added environment variables "-e OPEN_BUTTON_PORT=6901 -e OPEN_BUTTON_TOKEN=1" so when I press the Open button once the instance is ready, Blender will be opened.
Step 5 - Select the Jupyter Launch Mode #
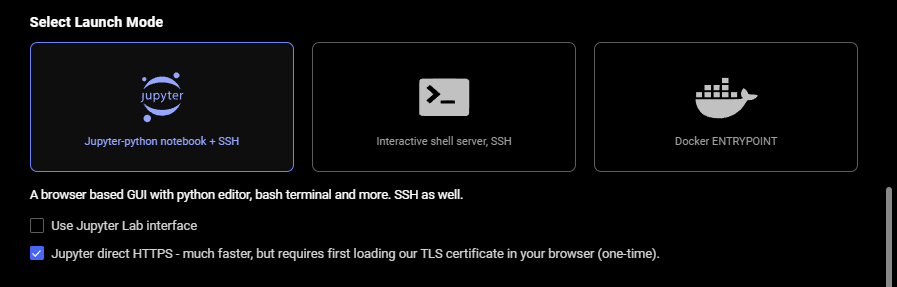
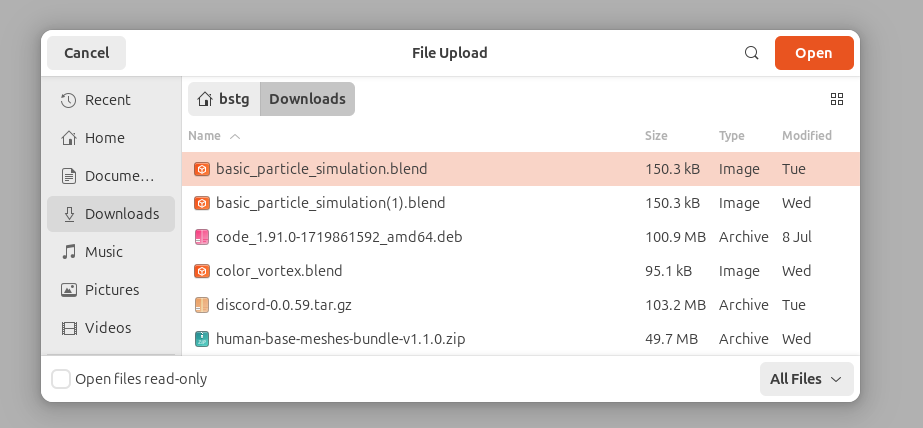
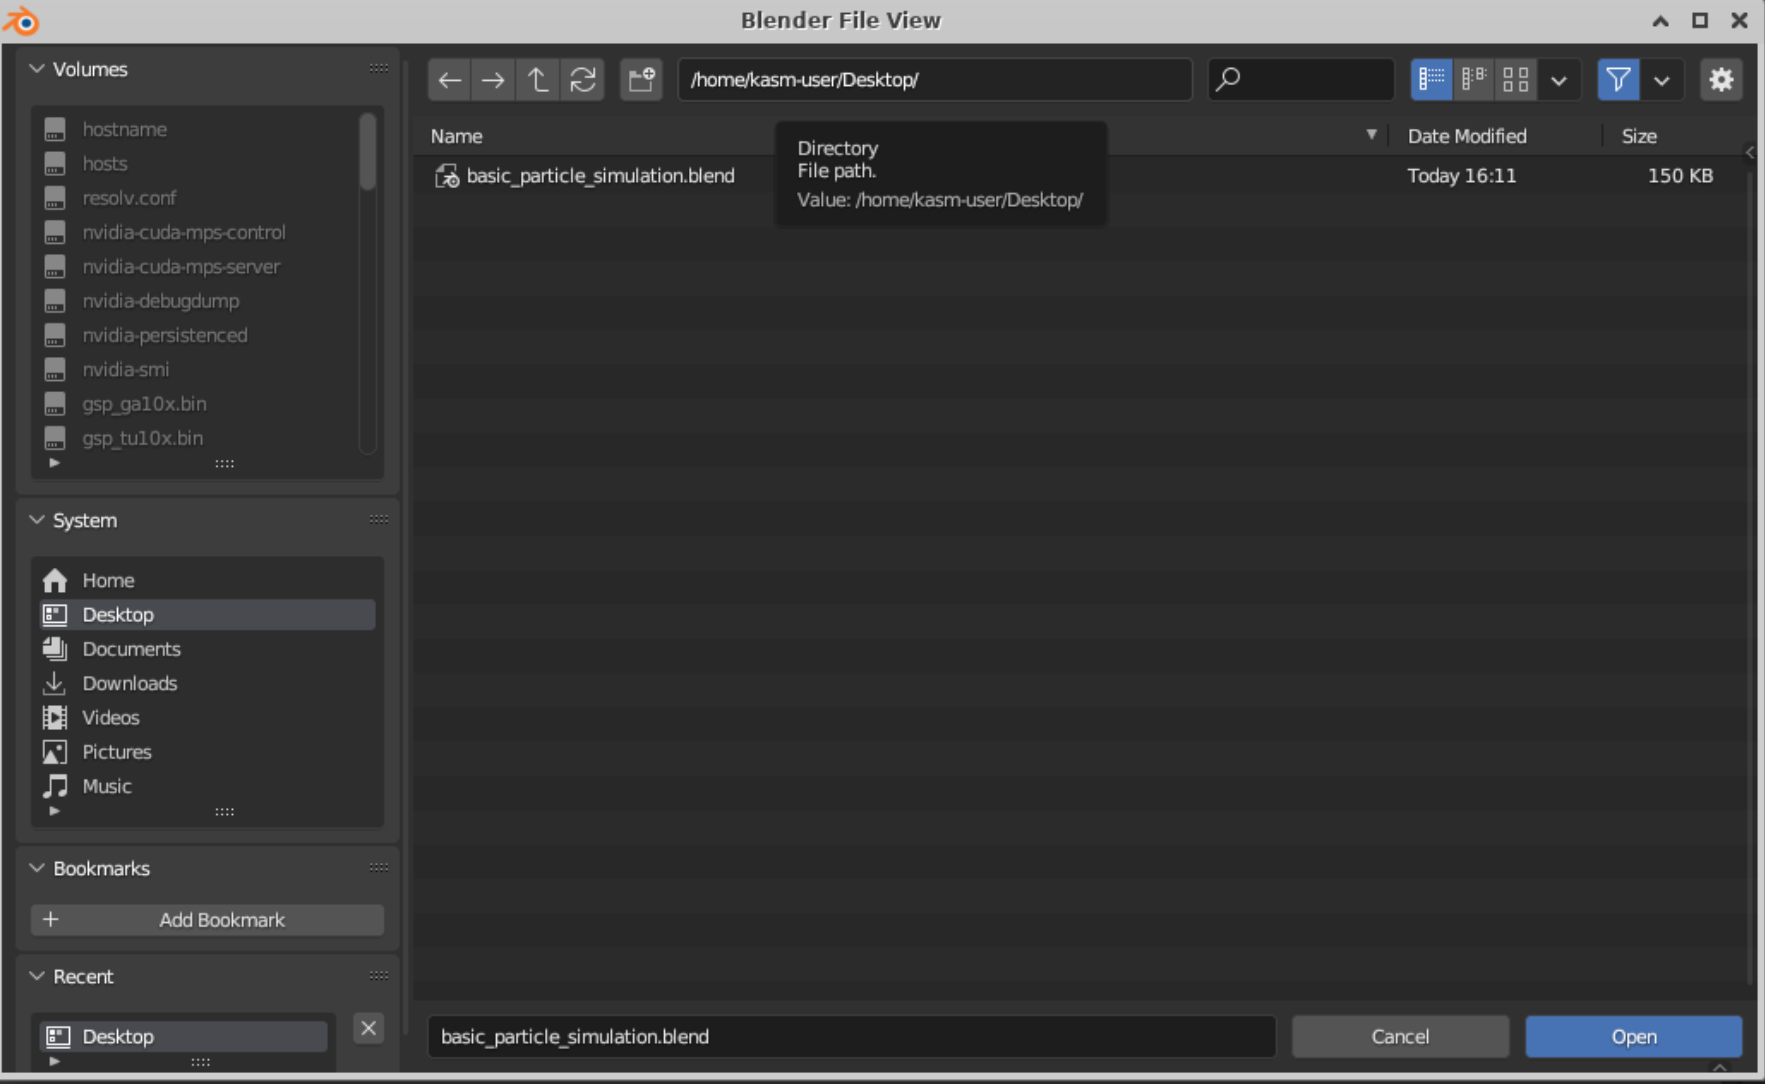
I selected the Launch Mode as Jupyter for this use case because I wasn't able to directly upload files from my local machine to Blender and download from Blender to my local machine while testing. However, if I uploaded a file like 100_color_vortex.blend to the instance/container through Jupyter's interface, I could access and open that file in Blender.
Step 6 - Fill Out On-start Script section #
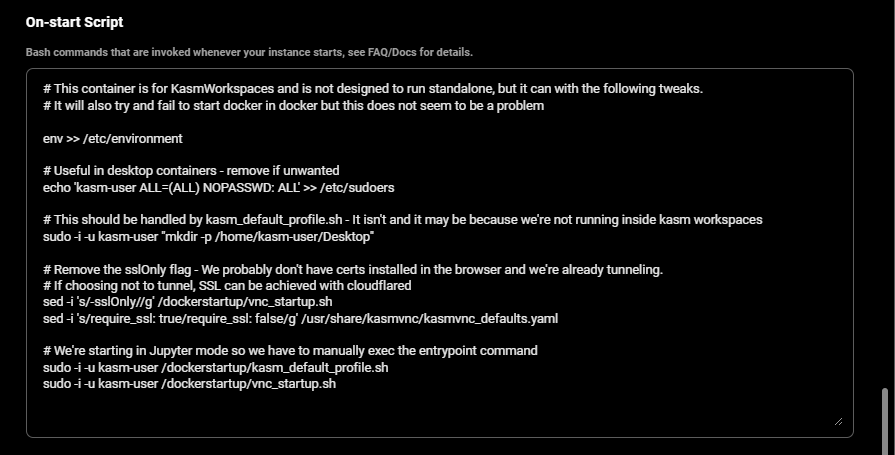
In the on-start script section, we added commands to be able to use this image to build and run as a standalone container in Vast's environment, even though the image/container is designed for the KasmWorkspaces environment.
# This container is for KasmWorkspaces and is not designed to run standalone, but it can with the following tweaks.
# It will also try and fail to start docker in docker but this does not seem to be a problem

env >> /etc/environment

# Useful in desktop containers - remove if unwanted
echo 'kasm-user ALL=(ALL) NOPASSWD: ALL' >> /etc/sudoers

# This should be handled by kasm_default_profile.sh - It isn't and it may be because we're not running inside kasm workspaces
sudo -i -u kasm-user "mkdir -p /home/kasm-user/Desktop"

# Remove the sslOnly flag - We probably don't have certs installed in the browser and we're already tunneling.
# If choosing not to tunnel, SSL can be achieved with cloudflared
sed -i 's/-sslOnly//g' /dockerstartup/vnc_startup.sh
sed -i 's/require_ssl: true/require_ssl: false/g' /usr/share/kasmvnc/kasmvnc_defaults.yaml

# We're starting in Jupyter mode so we have to manually exec the entrypoint command
sudo -i -u kasm-user /dockerstartup/kasm_default_profile.sh
sudo -i -u kasm-user /dockerstartup/vnc_startup.sh
We appended environment variables to /etc/environment file in our on-start section.
This makes environment variables available to all users and processes and ensures they are persisted even if our instance/docker container is rebooted. We suggest doing the same for your templates.
In this case, we also had to make the directory "/home/kasm-user/Desktop", which I expected would be already be there. Certain docker images might not be completely ready to create a running container.
We also had to read the source code and make changes to some of the entrypoint scripts to get this container running as a standalone container and work within Vast.
The repo with this blender image's Dockerfile could be found:https://github.com/kasmtech/workspaces-images/blob/develop/dockerfile-kasm-blender.
We didn't need to specify container repository server, username, and password.
Step 7 - Finish Creating Template #
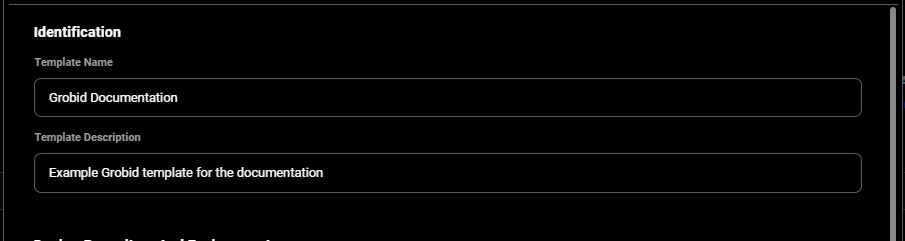
We finished creating this template by specifying the template name and description.
You can select and save to go to a screen to select a GPU instance and save your template.
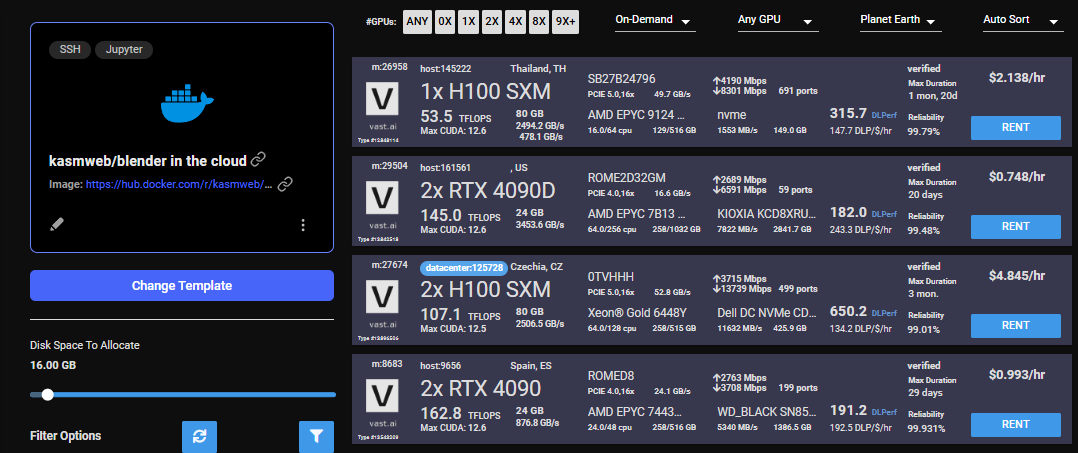
Example 2 - How to Create Template for GROBID #
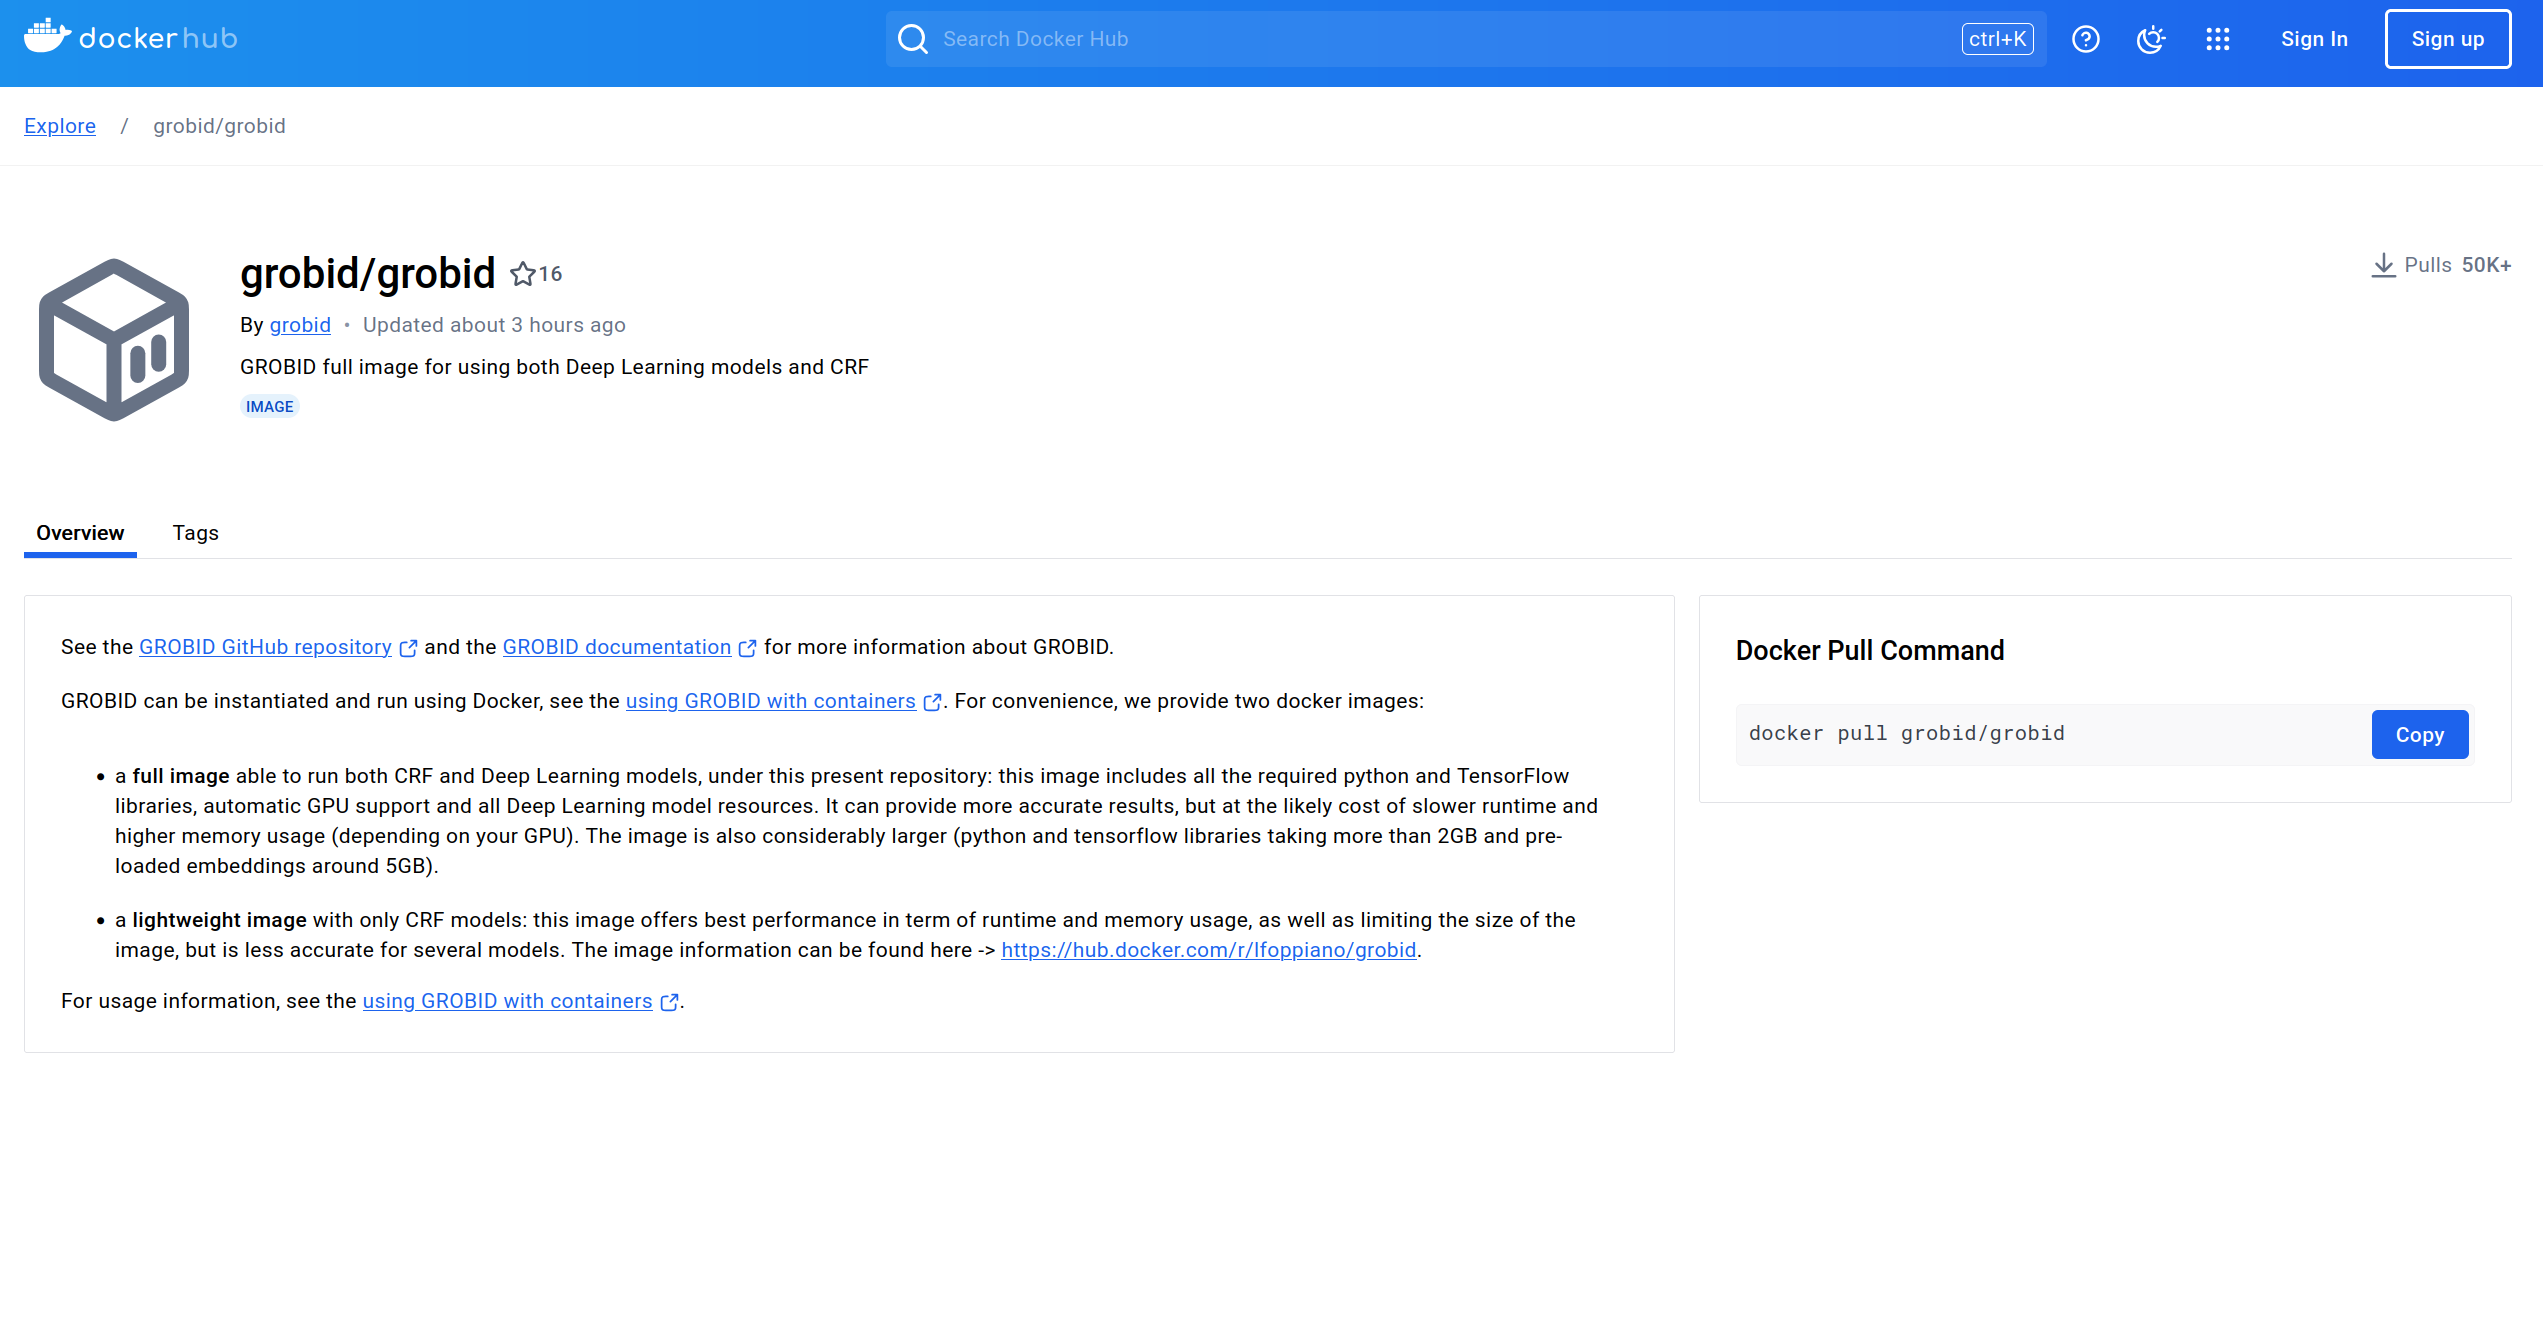
You can use this link to follow along: https://hub.docker.com/r/grobid/grobid
Step 1 - Choose Suitable Image #
I searched for "grobid dockerhub image" in Google.
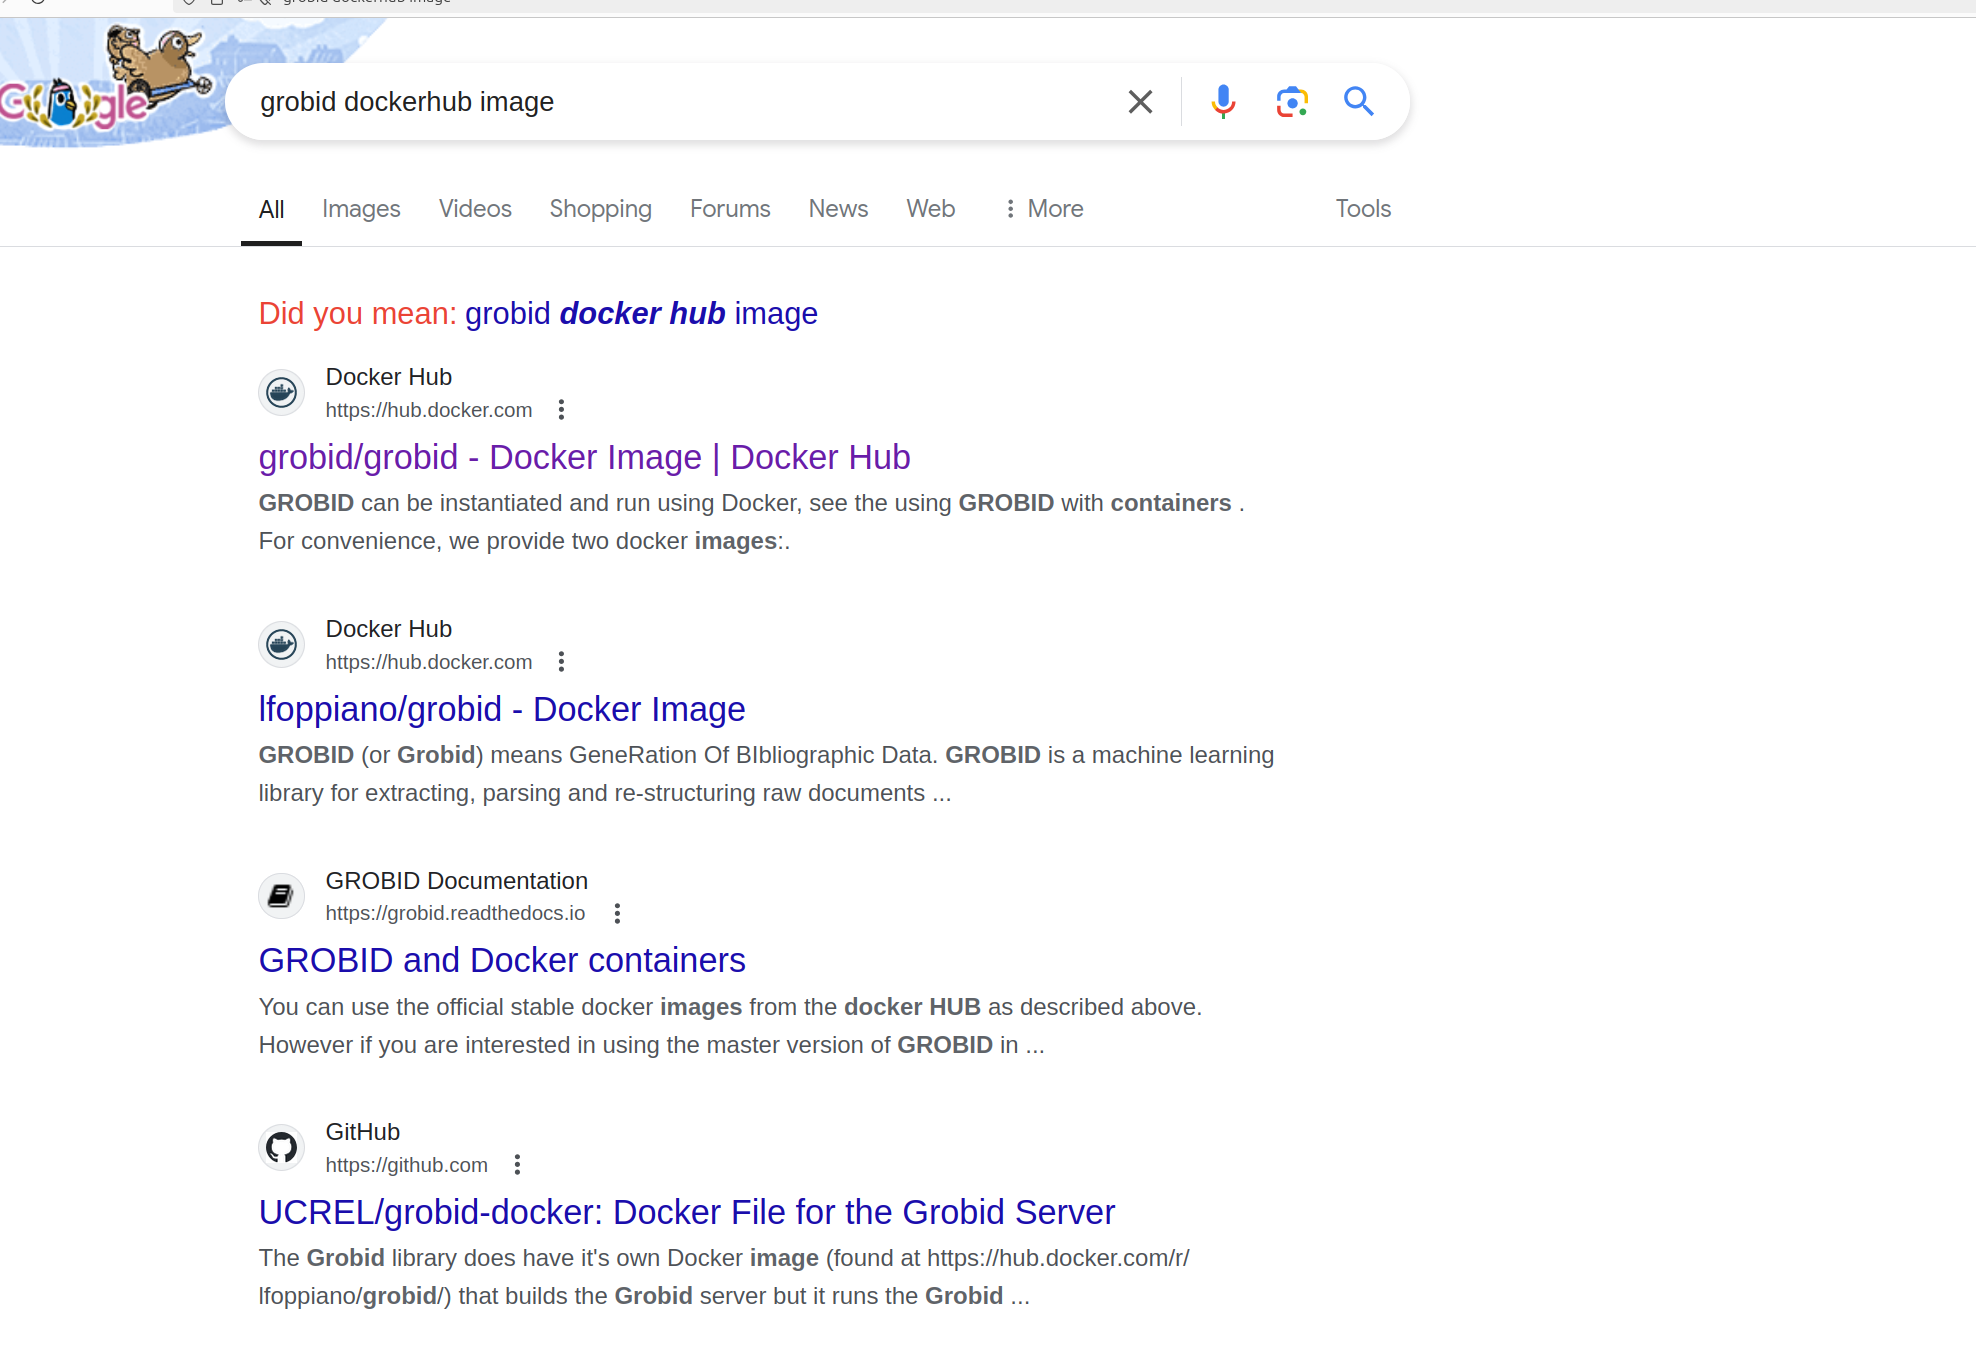
There are multiple GROBID images in dockerhub but this image seems like it will be the most legitimate because it's from GROBID itself.
Step 2 - Choose Suitable Image Tag #
The overview page above doesn't have as much information as the Blender image but it has a link about using GROBID with containers, which ledd me to this page.
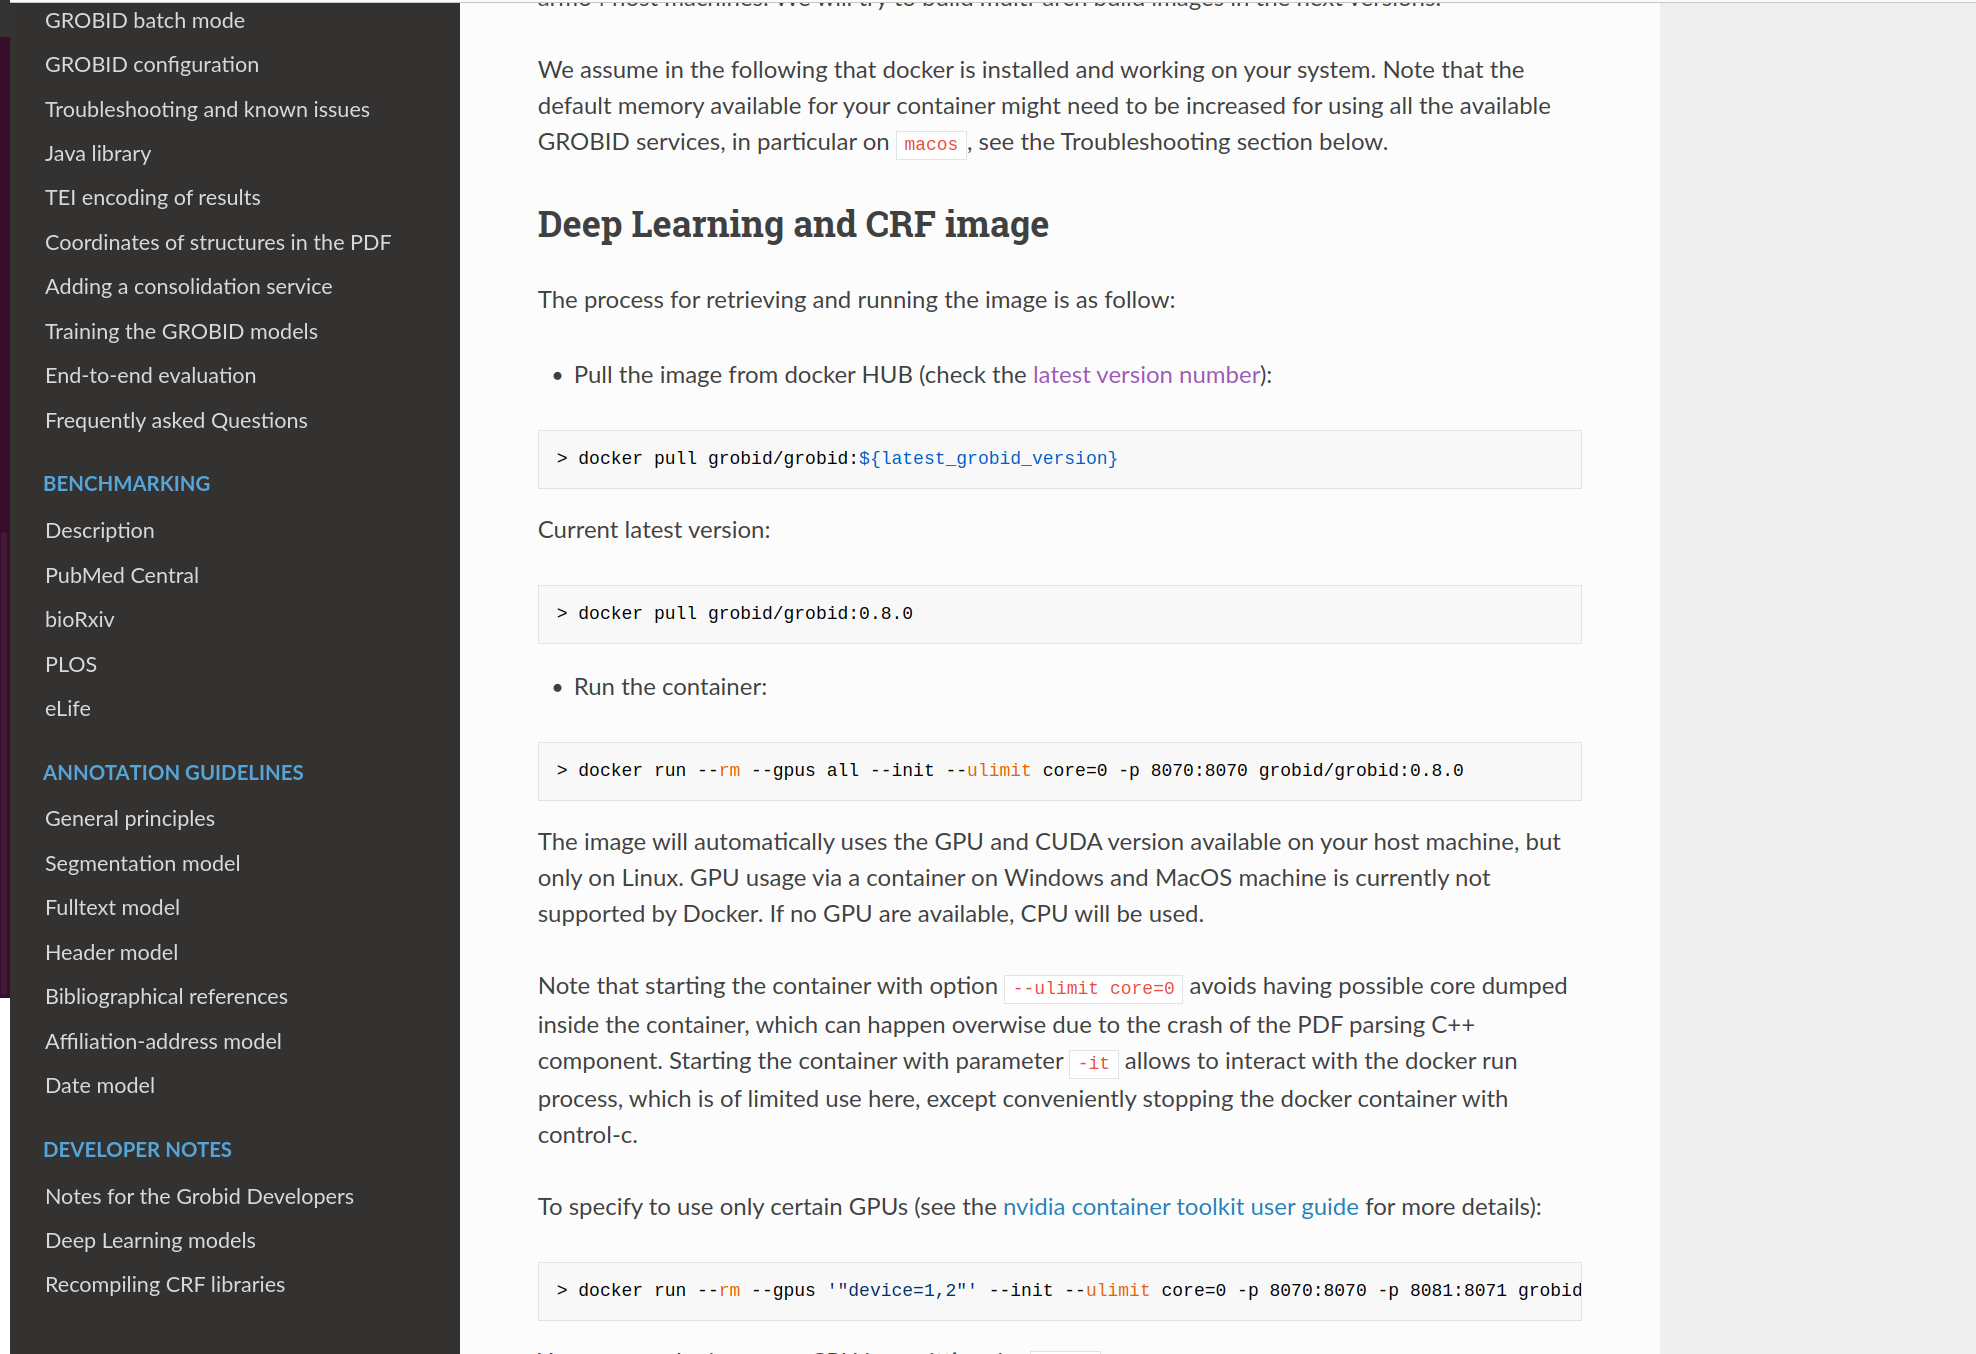
I wasn't sure which tag to select but there is a hyperlink to check the latest version number.

I decided on going with tag 0.8.0 because it seems like the most recent stable version.
Step 3 - Specify your Image and Tag Combination #

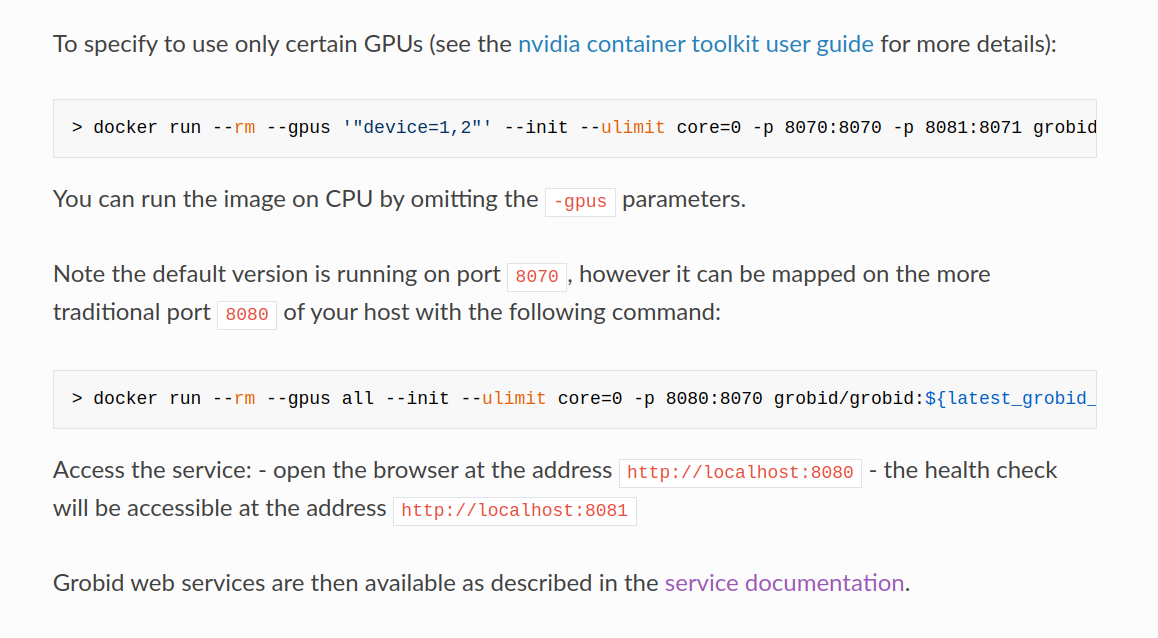
I mapped container's port 8070 to host machine's port 8070 since -p 8070:8070 is one of the docker run options in one of their documentation: https://grobid.readthedocs.io/en/latest/Grobid-docker/#crf-and-deep-learning-image. I didn't add the other options because Vast basically only allows -e and -p docker run options to set environment variables and expose ports.
Step 4 - Select the Launch Mode #
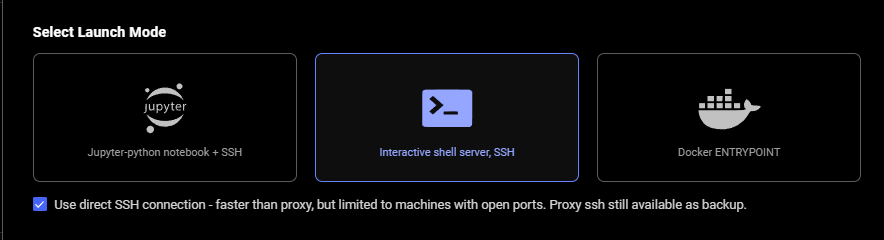
I selected ssh launch mode.
Step 5 - Look for CMD or ENTRYPOINT command #
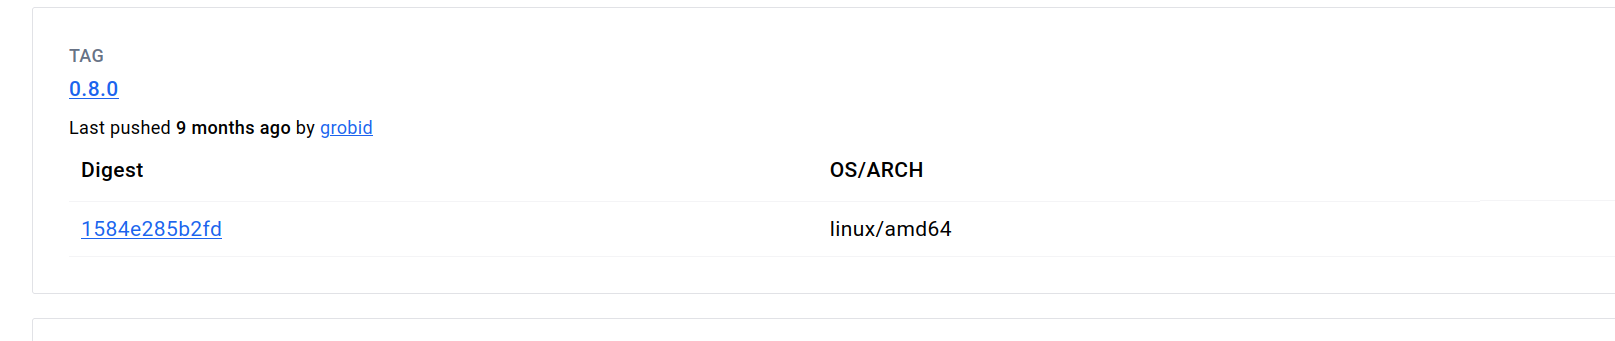
I found the tag 0.8.0 in the Tags tab of that image's page in Dockerhub and clicked on "0.8.0" highlighted in blue.
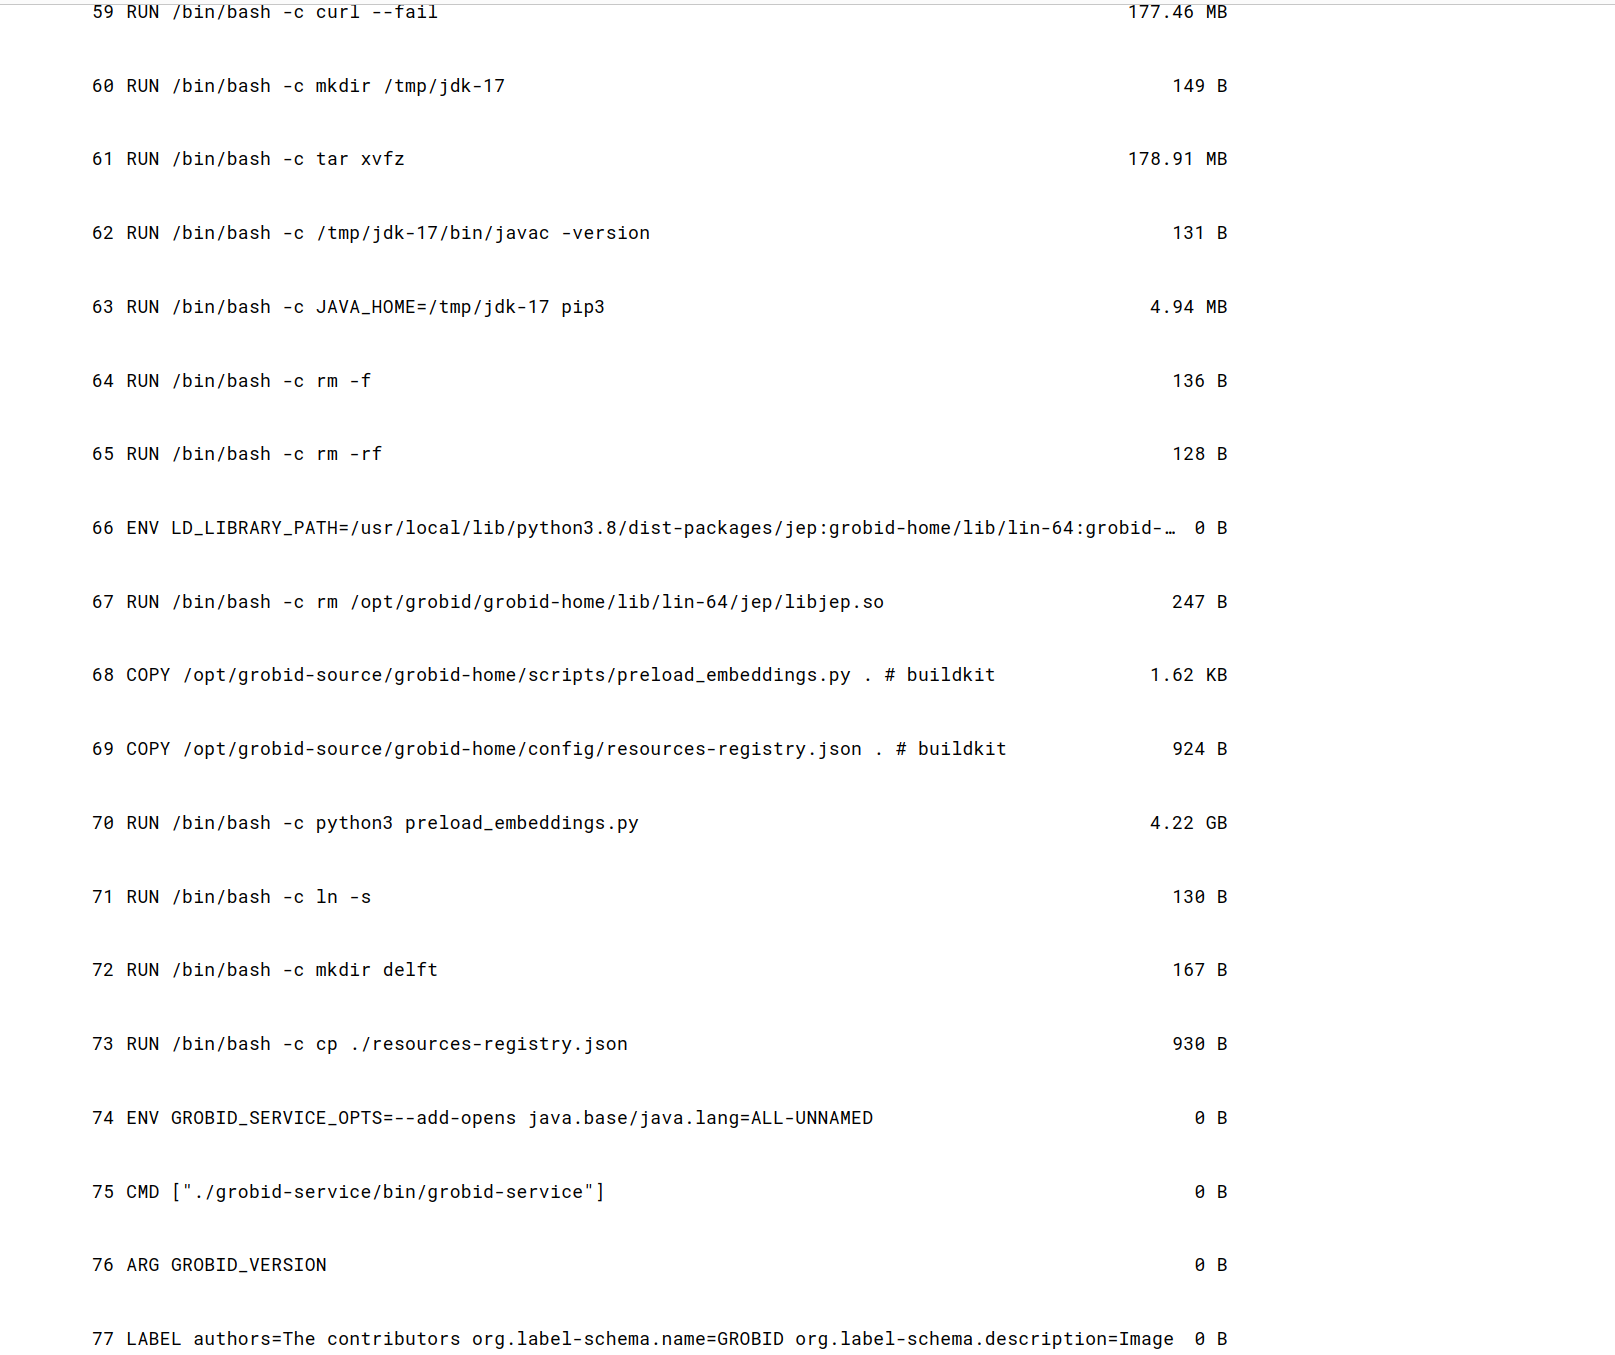
I scrolled down and found the CMD command.
Step 6 - Fill Out On-start Script section #
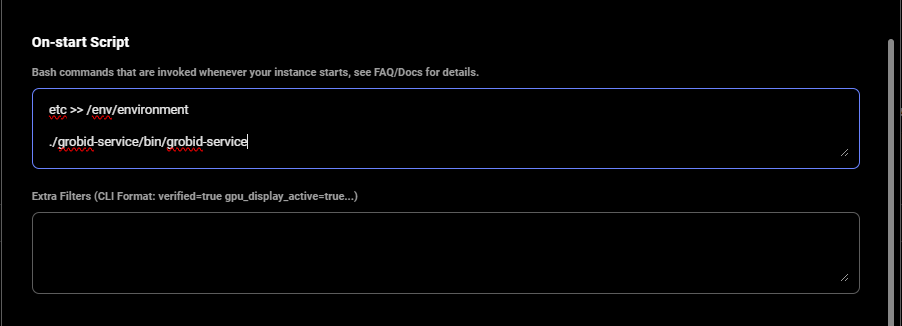
I added that contents of the CMD command to the end of the on-start section.
I also appended environment variables to /etc/environment file in our on-start section.
This makes environment variables available to all users and processes and ensures they are persisted even if our instance/docker container is rebooted. We suggest doing the same for your templates.
Step 7 - Finish Creating Template #
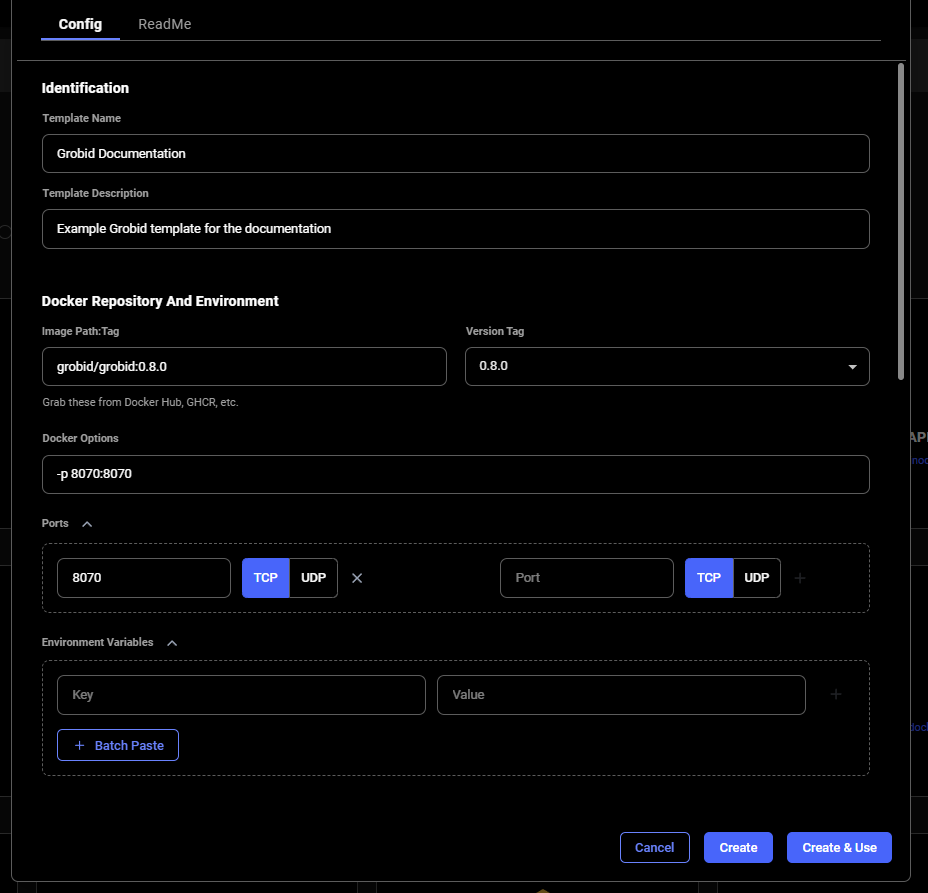
We finished creating this template by specifying the template name and description.
You can select and save to go to a screen to select a GPU instance and save your template.
Step 8 - Rent an Instance and Go to GROBID From Your Browser #

I went to the instances tab and found my instance.
When it showed the "Connect" or "Open" state on the blue button, I found the ip:port range button and clicked it. In this case, that button had "47.186.63.233:53457-53578" on it.
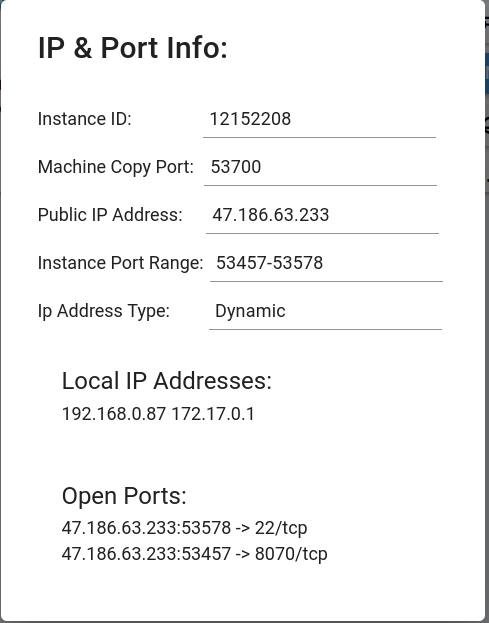
I got the ip address:port mapped to port 8070 and pasted it in a different browser tab. In this case, it was "47.186.63.233:53457".
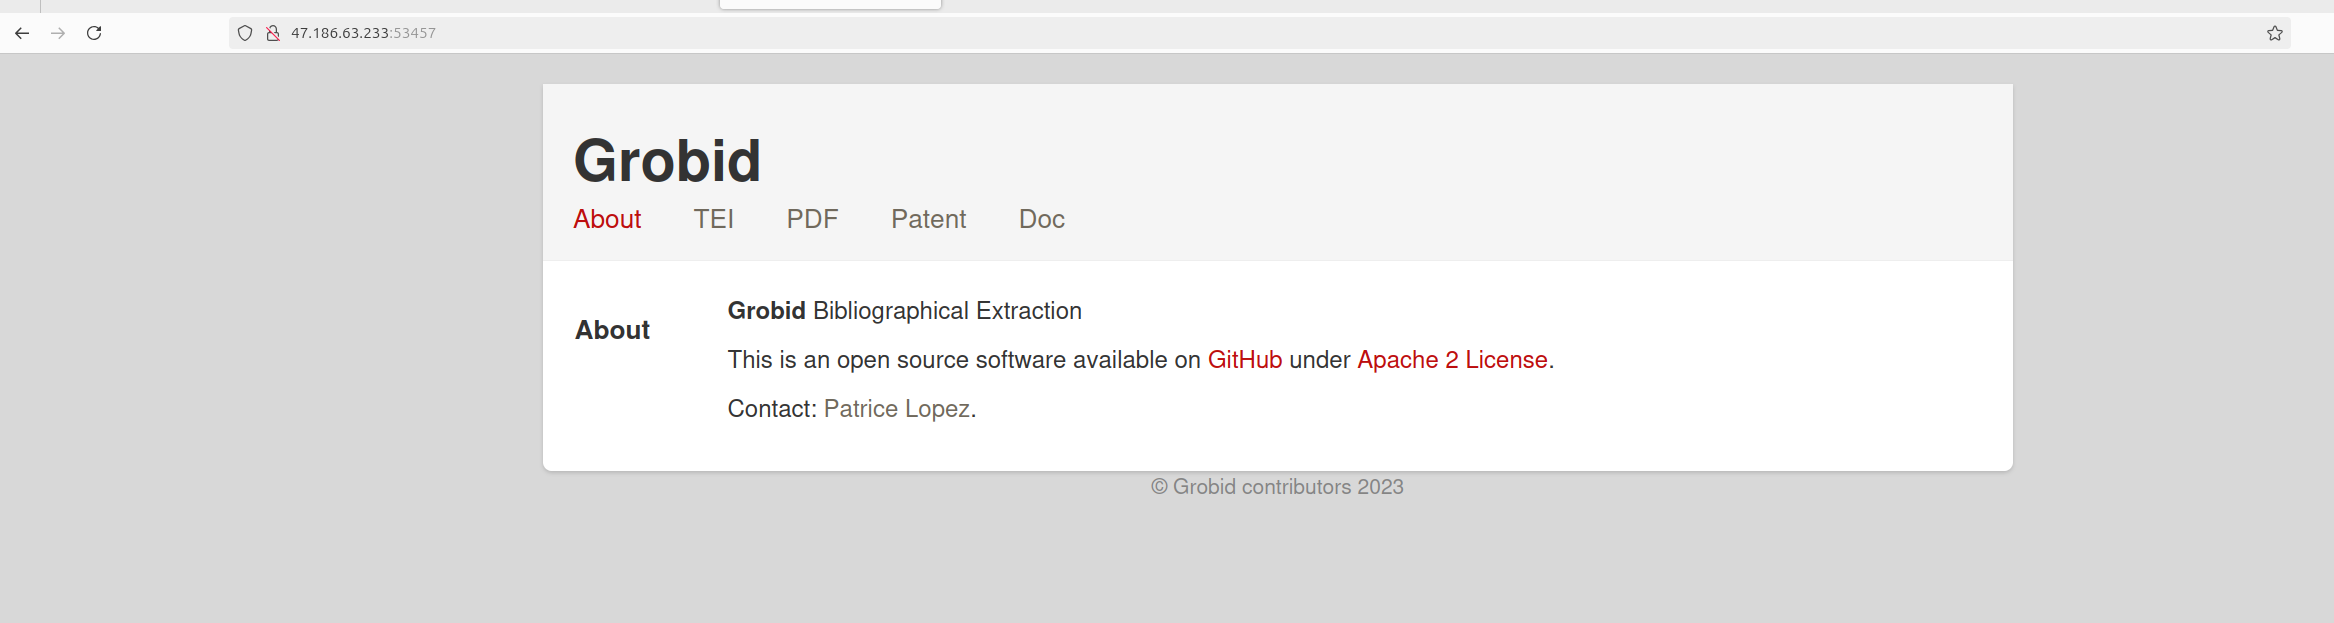
Then, I saw GROBID.
Caveats #
If your image is built for a different CPU architecture than your Vast machine, then it won't work. You can try to find a machine with the required CPU architecture using our GUI or CLI.
Command to Search Offers Using CLI
If your image requires a higher CUDA version, then look for a machine with a higher Max CUDA version. Max CUDA version can be found on the instance card.
How to Find Max CUDA version in Instance Card
If your image is built to run jupyter, then try running it on a port different than 8080.
If you are having issues using ssh launch mode, add your public key to ~/.authorized_keys, install openssh, start openssh when the container starts, and forward the ssh server's port.